Blue Flame Maple & Cocobolo
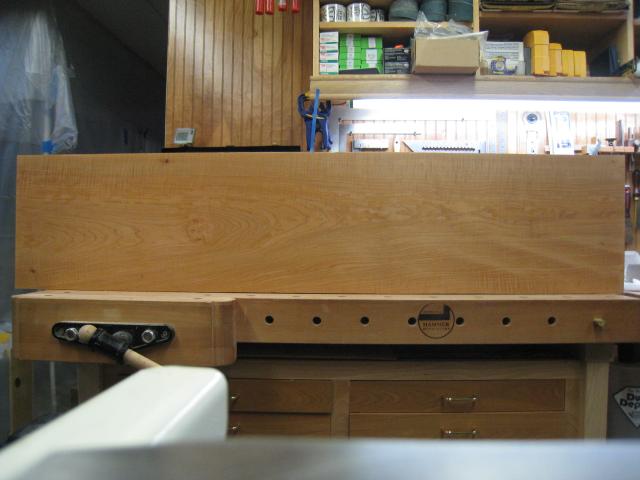
It began with a piece of 8/4 x 13 Curly Maple. The figure on one side was much stronger so the piece was ripped down the center, lengthwise, and the two best pieces were selected for the body.
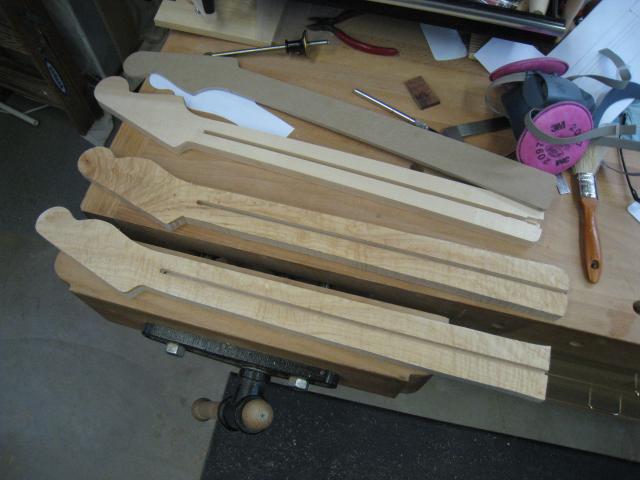
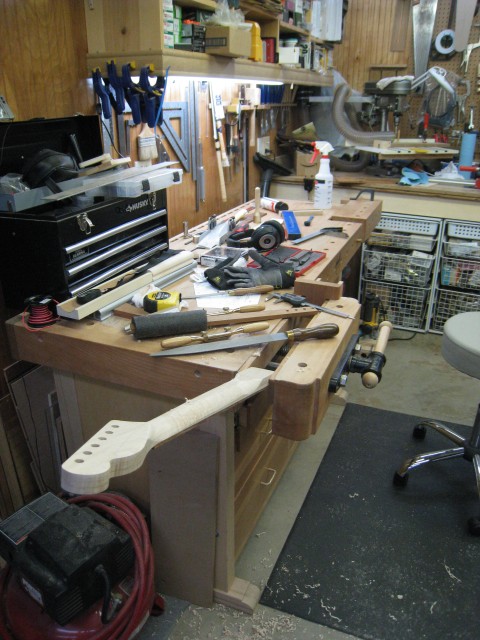
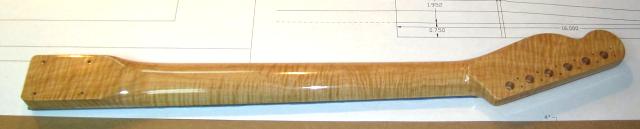
Top to bottom: Strat neck template (QS maple), Tele Deluxe neck and KB Custom neck (both high-figure maple).
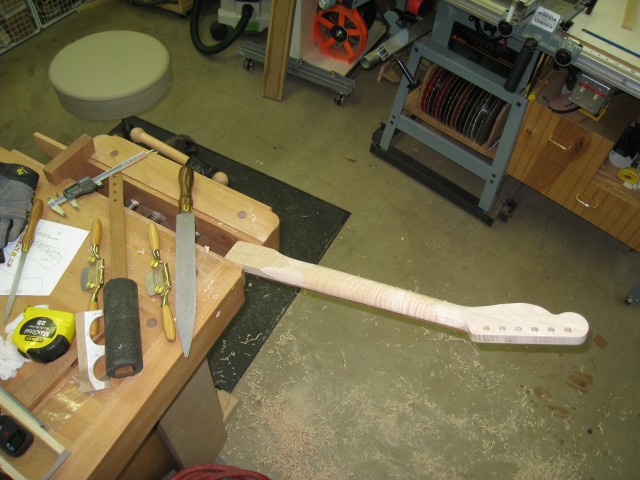
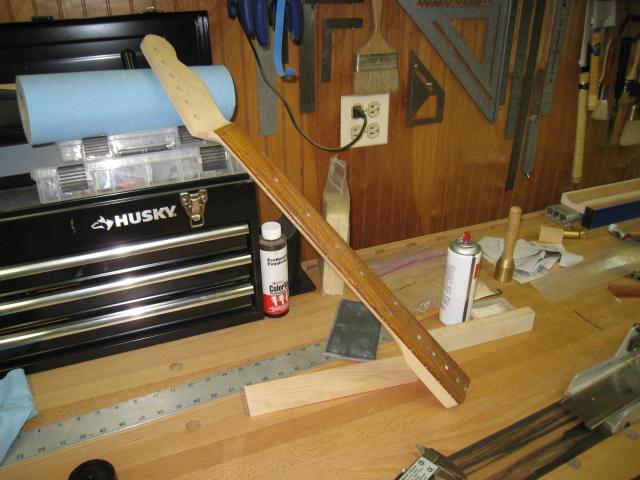
Shaping the neck with spokeshaves and rasps.
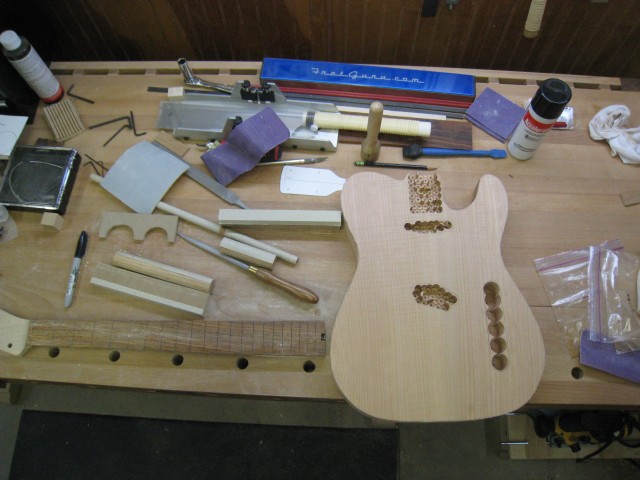
The chambers for the neck, pickups and controls are first drilled out with a Forstner bit

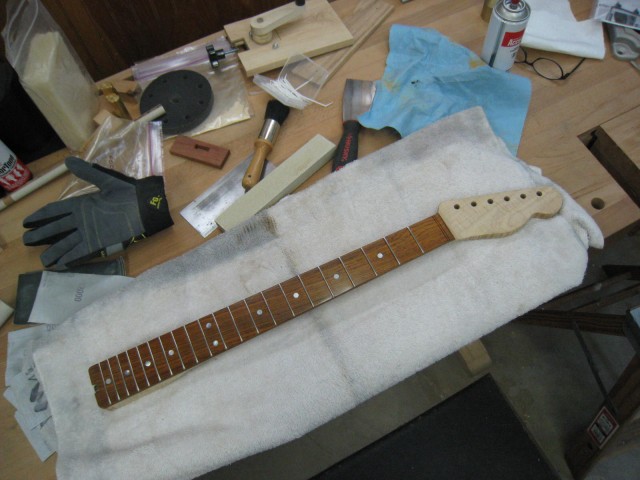
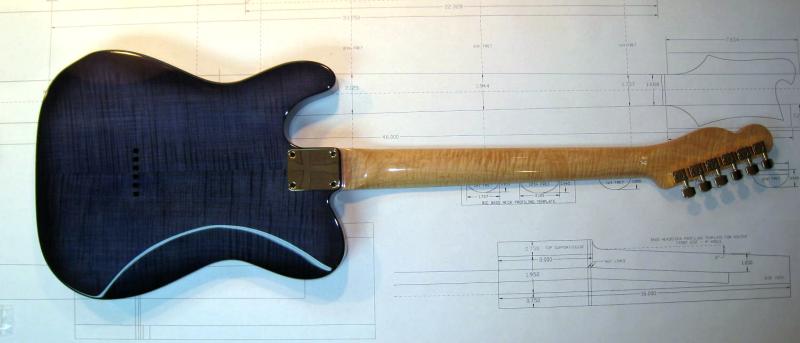
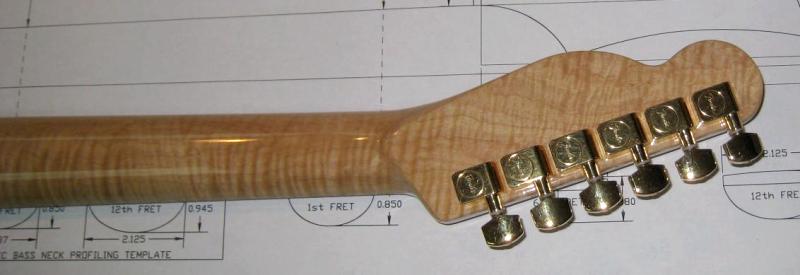
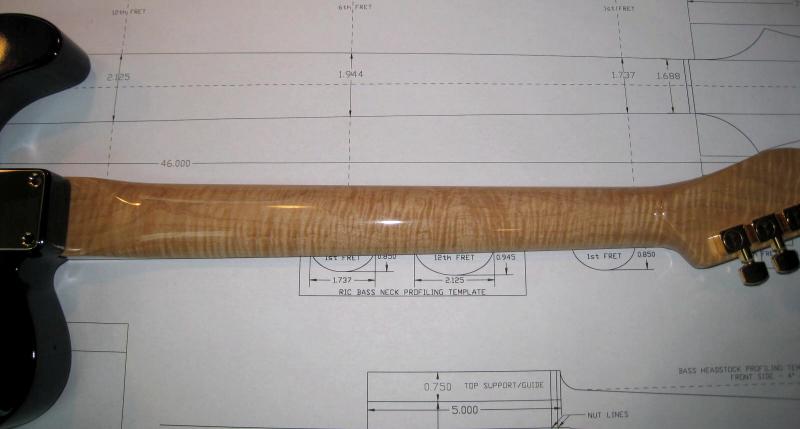
The back profile of the Flame Maple neck. The customer flew into town to do the final shaping on the neck - making this neck a truly custom neck.

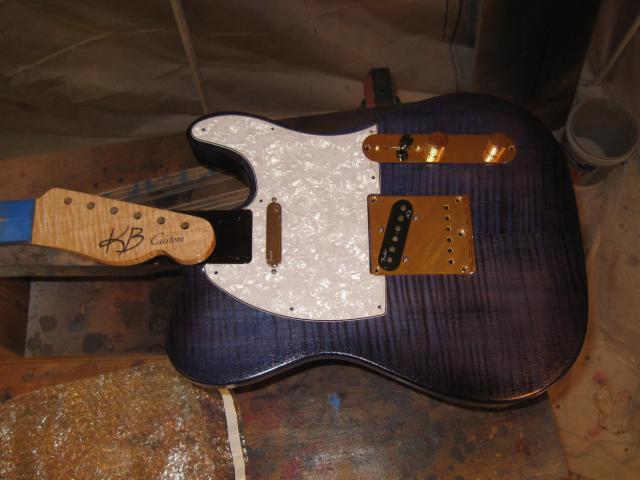
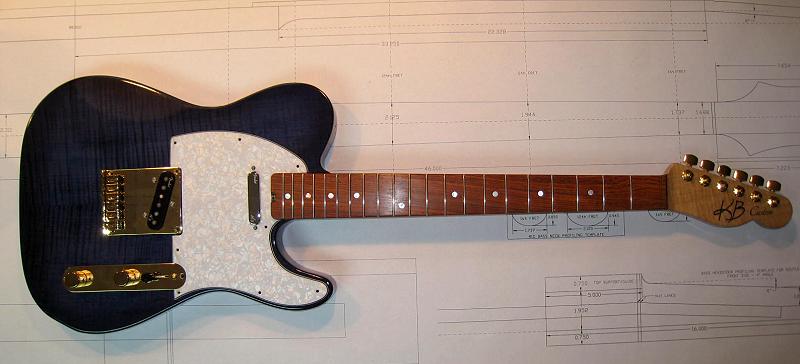
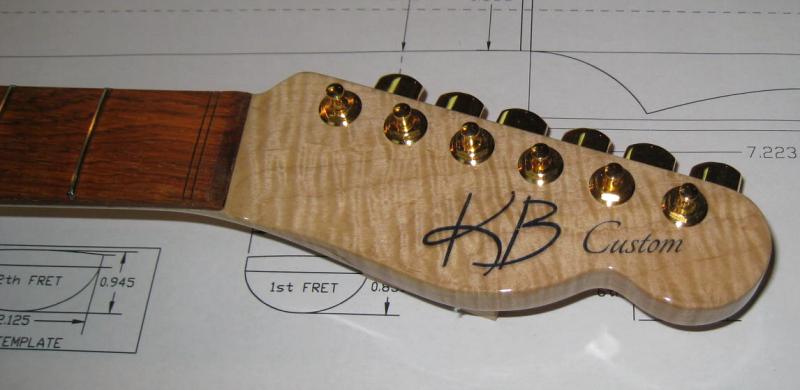
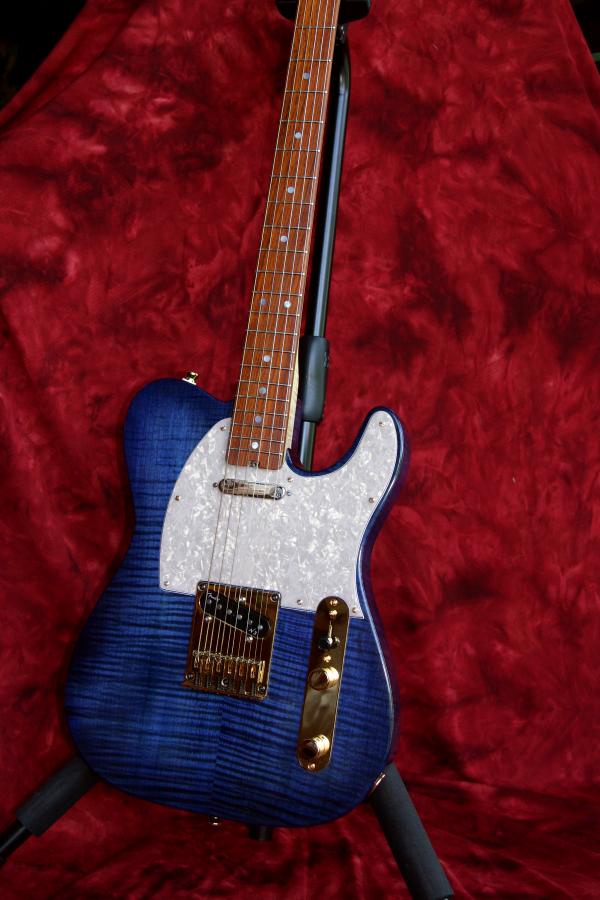
Dry assembled - Cocobolo was used for the fretboard. Pickups are Fender Telecaster N3. Tuning machines are Fender American Standard.

Shaping the belly cut.
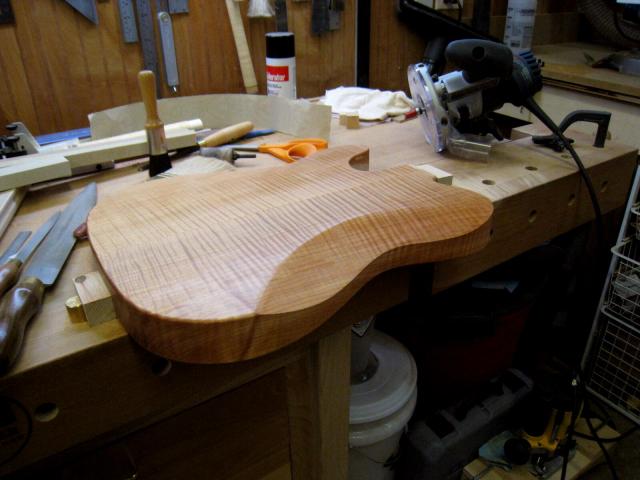
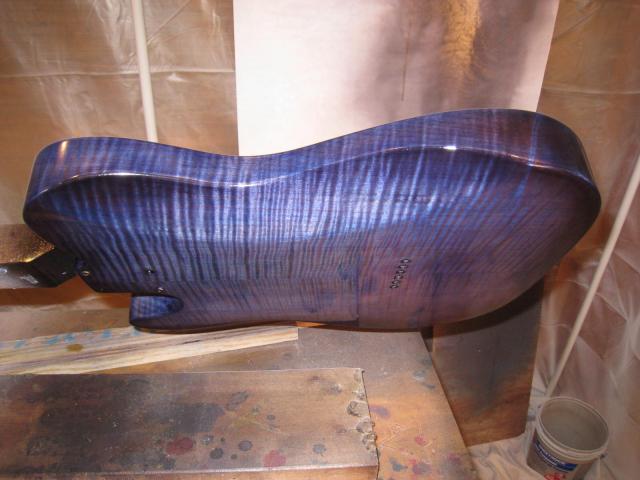
A little mineral spirits brings out the chatoyance of the figure.
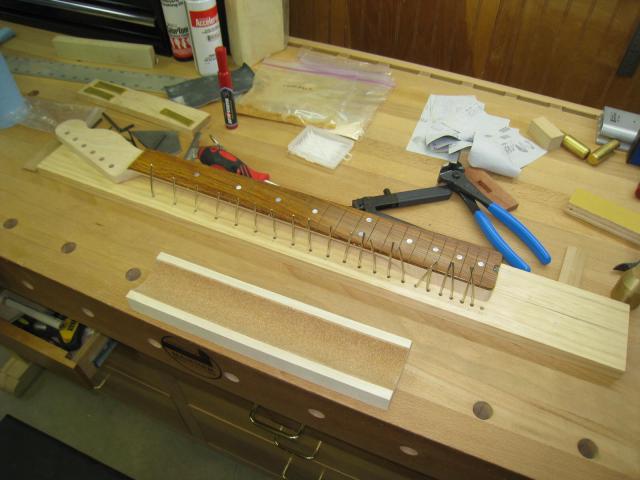
With all the frets cut and set in their prosepctive order, the neck is ready to be fretted.
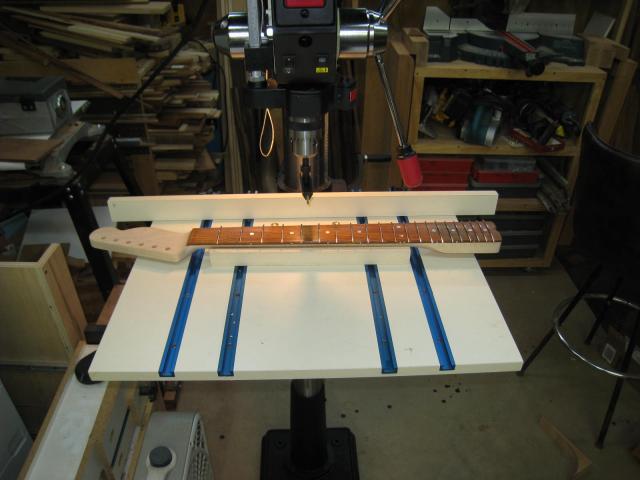
After the frets are tapped into place, each fret is pressed in with a 9" radius caul, followed by a 12" radius caul.
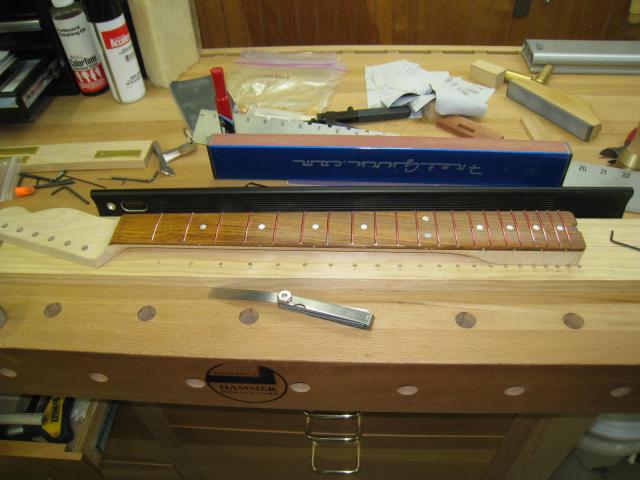
The frets are ready to be leveled and dressed.


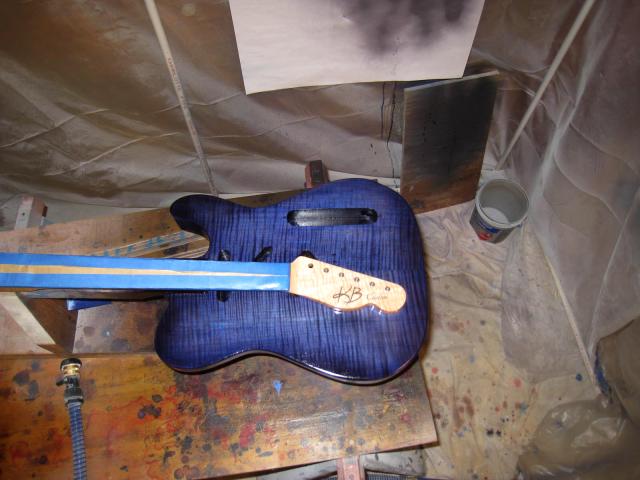
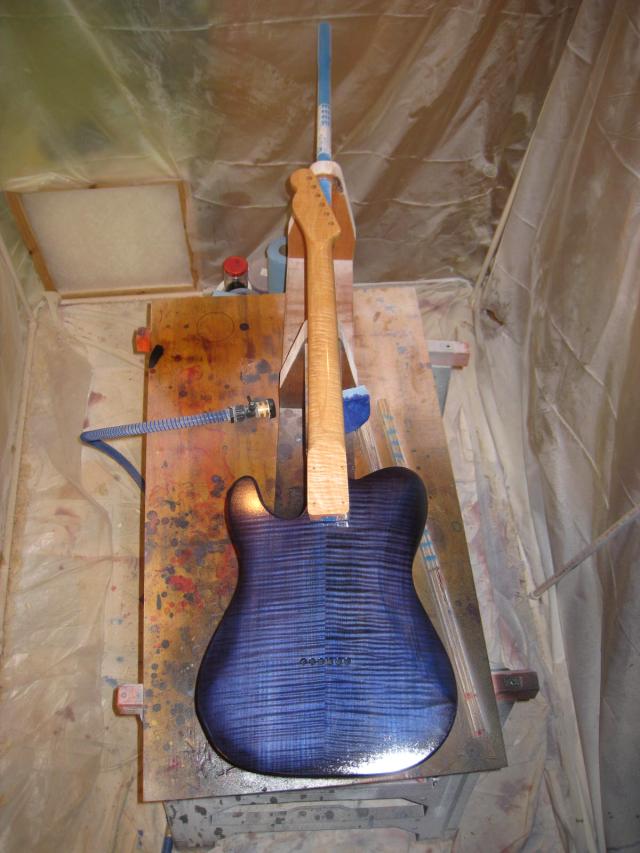

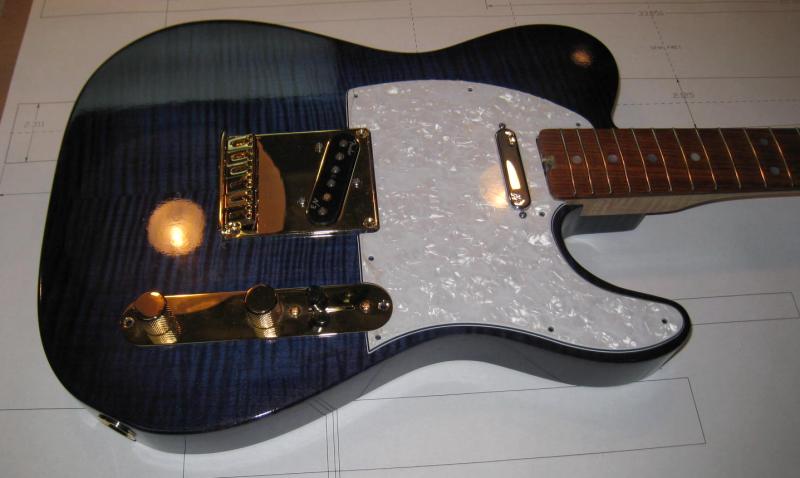
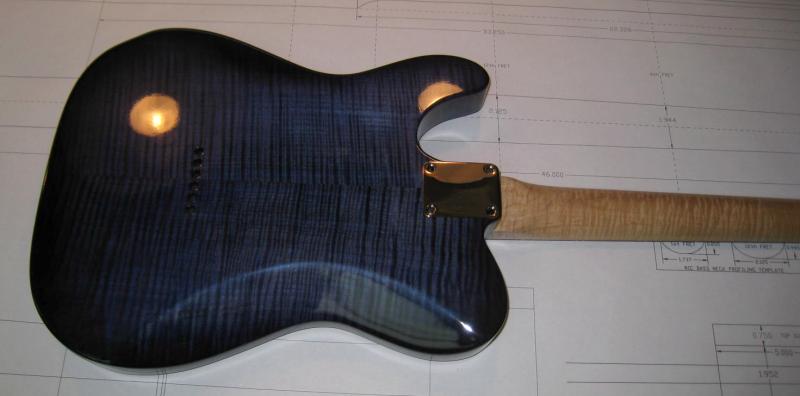
The following pictures were taken when the lacquer hadn't yet fully cured but was cured enough to allow
these pictures to be taken to send to the customer - as long as everything was handled CAREFULLY!
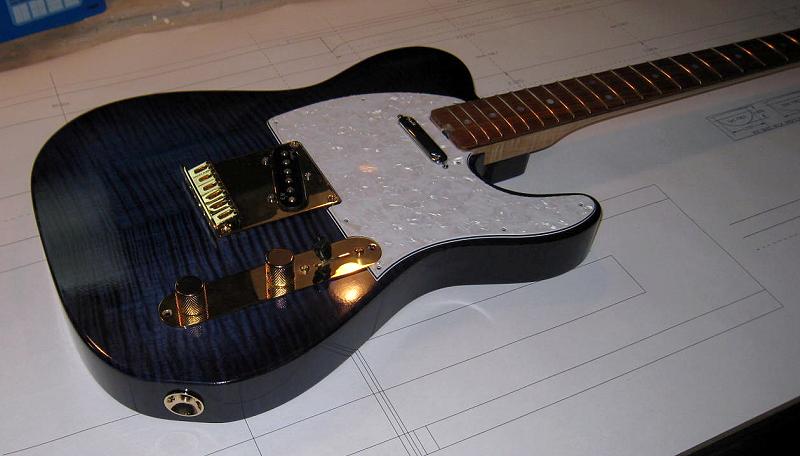
The final leveling and buffing will be done after the lacquer is sufficiently cured.
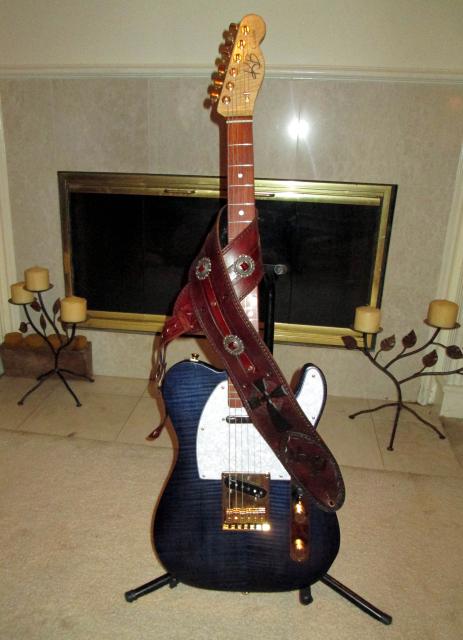
The new owner sent me a picture of the guitar with its new custom made strap he had custom made for his new guitar: