Kitchen Cabinet Refacing
Honduran Mahogany & Sapele
It started with Honduras mahogany, to be used for the rails and stiles on the cabinet doors. The panels however needed to be somewhat more plain than the figured mahogany.

You do the math.
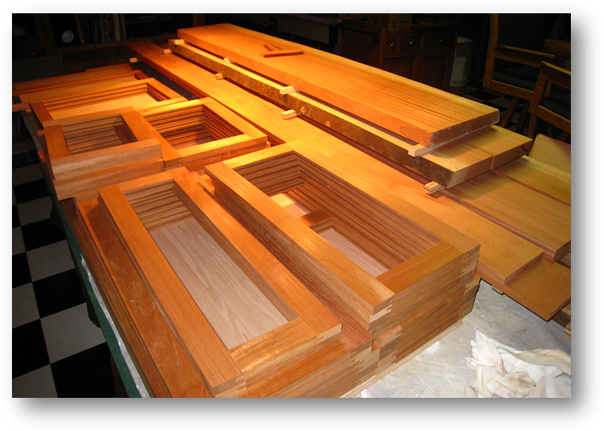
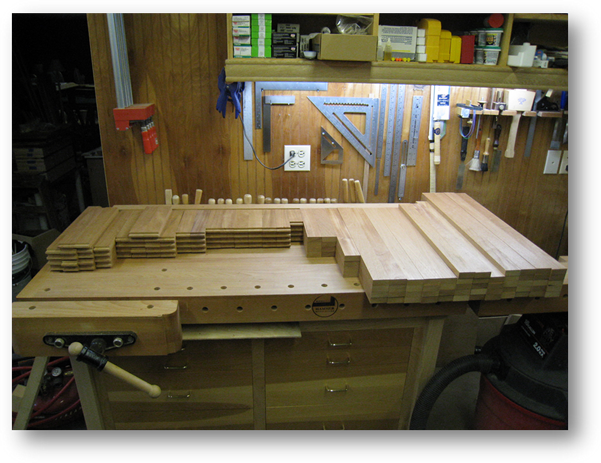
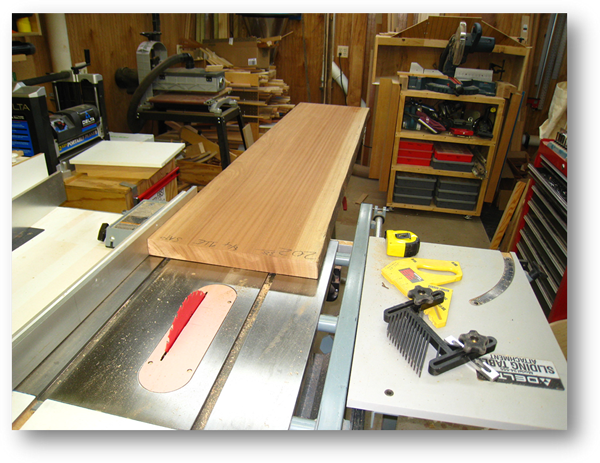
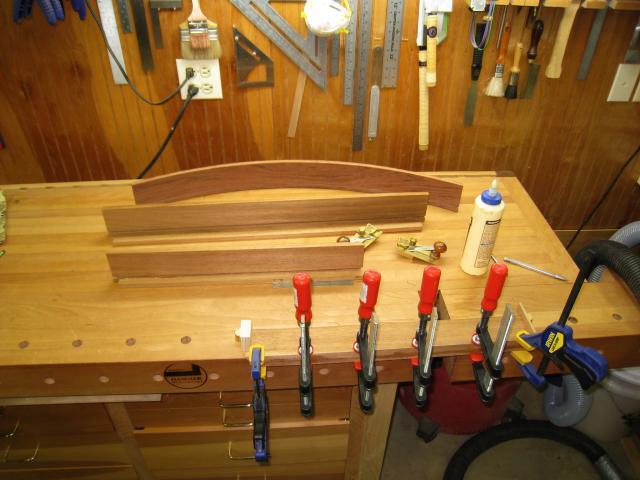
The rails & stiles are shaped and dry fitted. Behind is the sapele waiting to be milled.
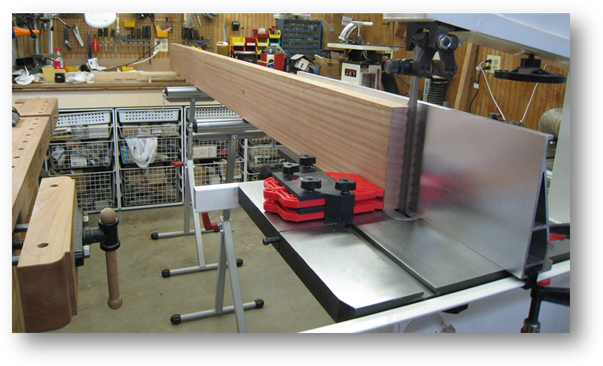
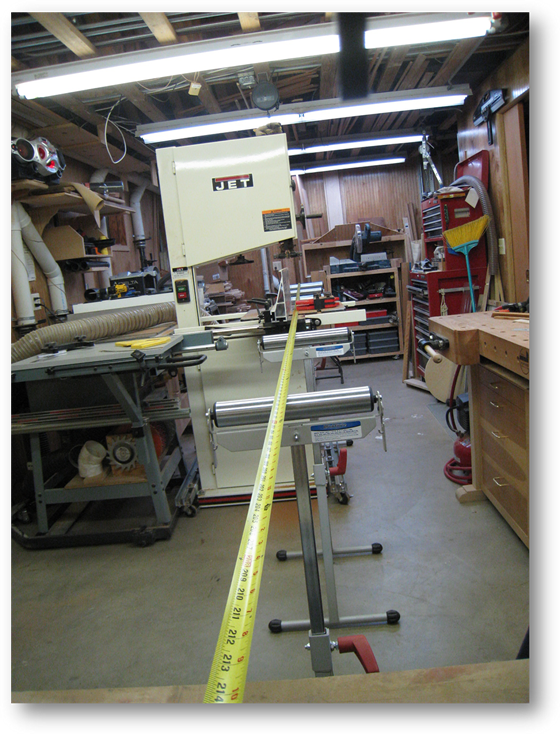
To give you an idea of what's involved when you resaw a long and large slab of lumber, a tape measurer tells the story. In front is two roller wheels. On the other side there are three. Overall, the maximum distance is over 20'.
Some of the slabs were too wide for the bandsaw to resaw them. So, sadly, they had to be ripped into "acceptable" widths. The piece cost a touch above $200.00
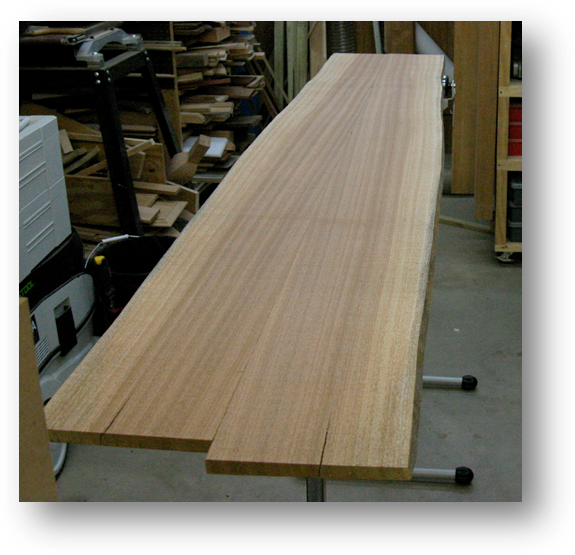
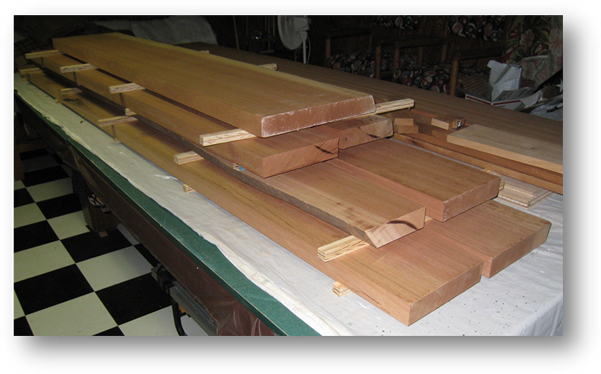
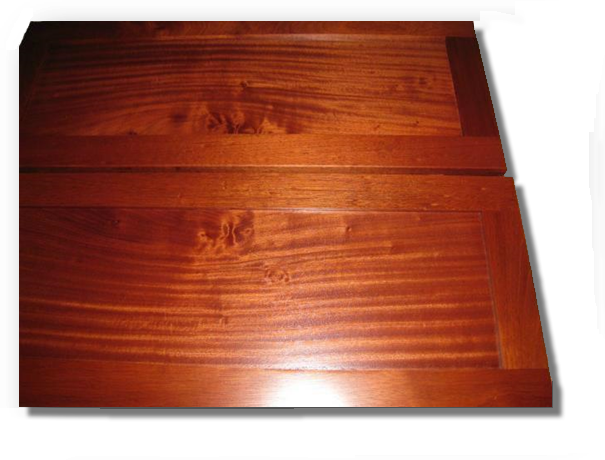
After the slabs went through the bandsaw resaw process, their character was revealed. In the above picture, you can see the effect of "bookmatching" the resawn pieces. It makes for very interesting character.
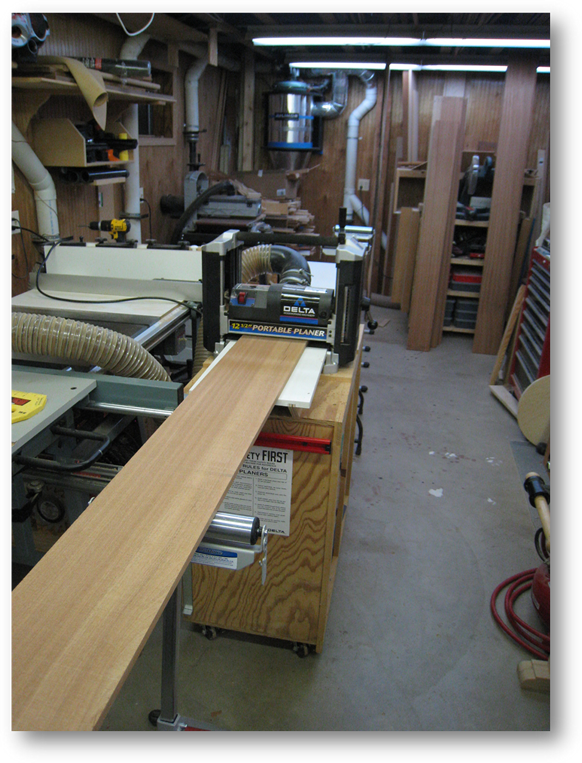
Once the wood has been "sliced" through the bandsaw, the next step is to take it through a thickness planer. This guarantees even thickness throughout.
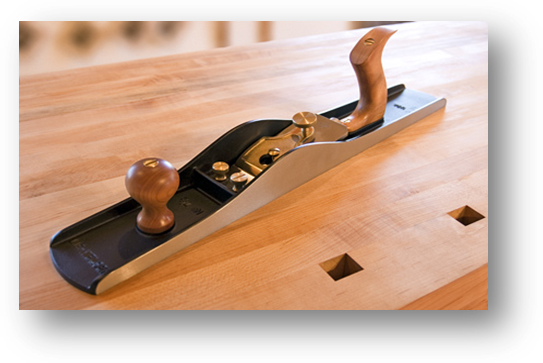
This is a Lie-Neilsen #7 low angle jointer. It takes uneven edges and makes them straight and smooth. With a little human muscle!
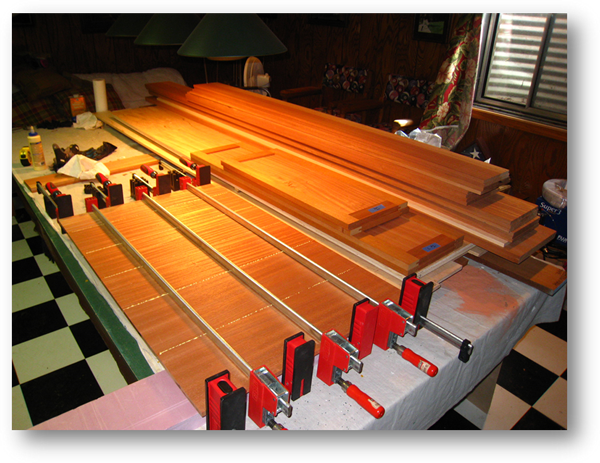
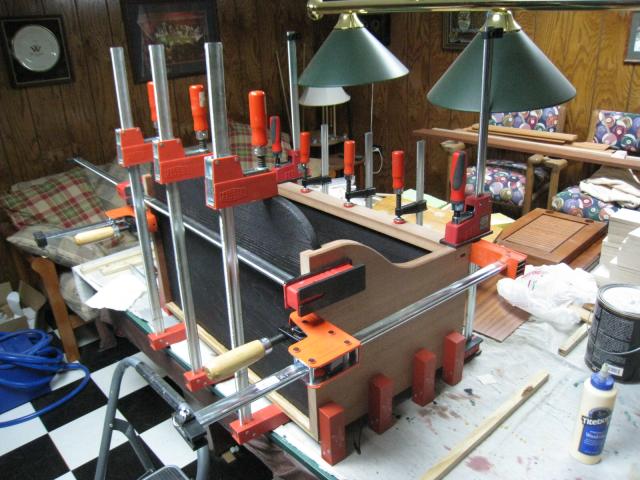
This is the glue up process. All of the panel pieces were glued in a book-match fashion. Then they were ripped to width. Then it was back to the glue clamps to do it all over again.
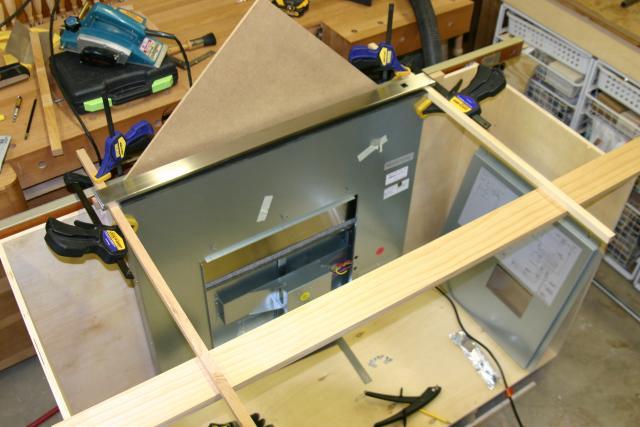
The cooktop and downdraft vent dimensions required a new cabinet to be made. It started with 1/2" maple plywood.
In order for everything to fit, a cutout had to be made for the pop-up vent. The face of the cabinet was made from red oak.
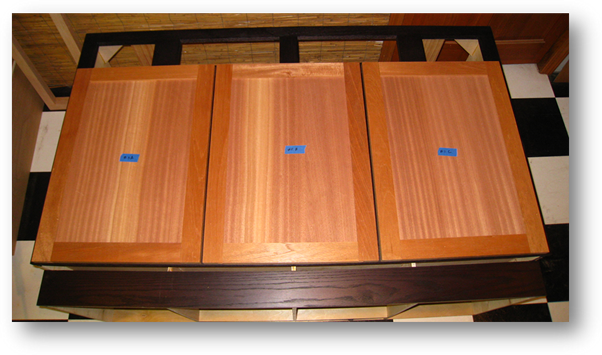
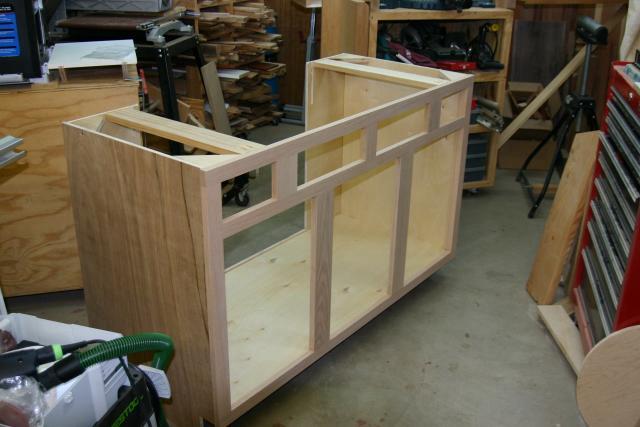
The first doors, dry fitted and placed on a newly built cabinet. All of the doors have been marked so that the book matching effect will be preserved throughout the project. The red oak face frame was dyed with General Finishes Ebony waterborne dye.
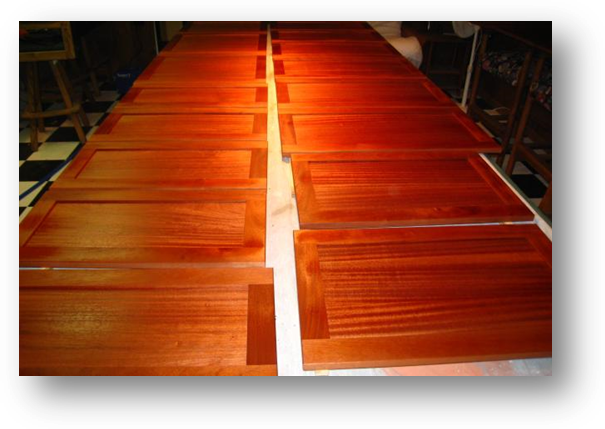
With the first top coat on the doors, the next step is sanding the nibs and preparing for spraying the final coats. Finish is General Finishes Endurovar in satin. All spraying is done with a Fuji Super 3 HVLP sprayer.
The final coats have been applied. The cup holes for the Blum hinges have been drilled. Now we wait for no less than 100 hours for the finish to cure before installing the new doors.
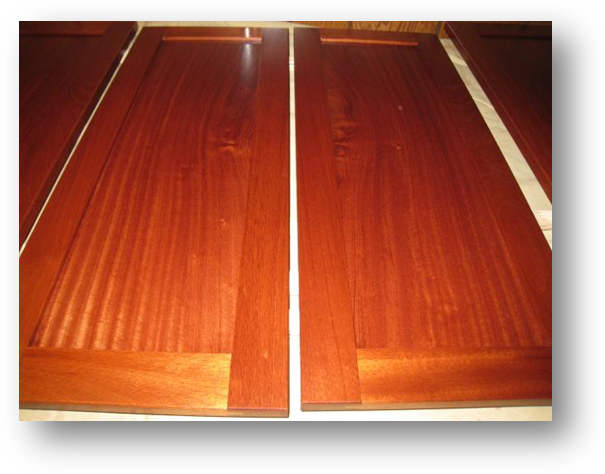
Panels on the doors were bookmatched. That means when the slab was cut the two pieces were opened like the pages of a book creating a mirror image of the grain pattern.

The newly made cooktop and wall cabinets are installed. Wall cabinets have slide out spice racks installed. A sample door is set behind the cooktop.
All the cabinet doors are installed. The drawer fronts, microwave cabinet and lightbox for above the cooktop still need to be made..
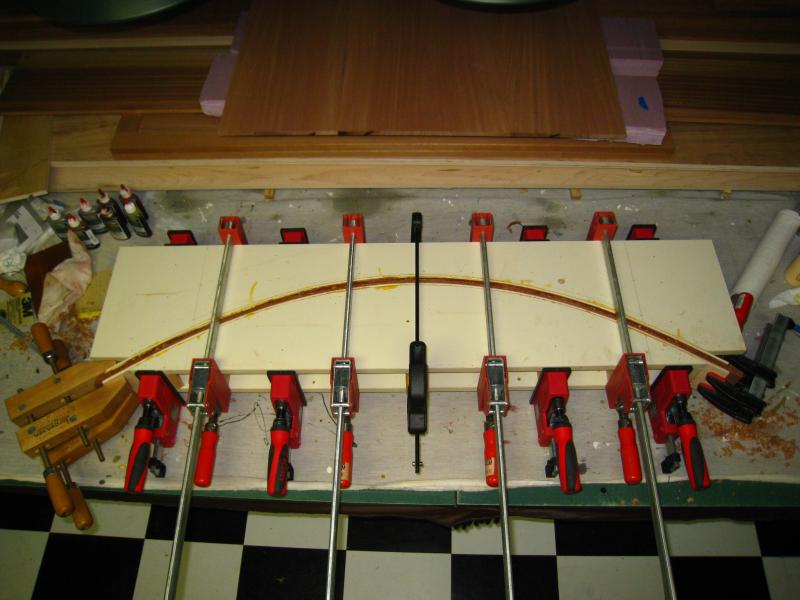
The lightbox work begins. The curved piece on top is a laminate of 1/8" thick jatoba. Pieces were resawn from a 1" thick board.
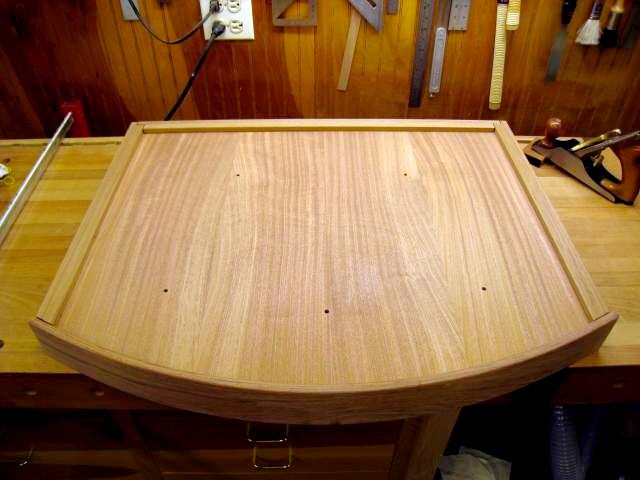
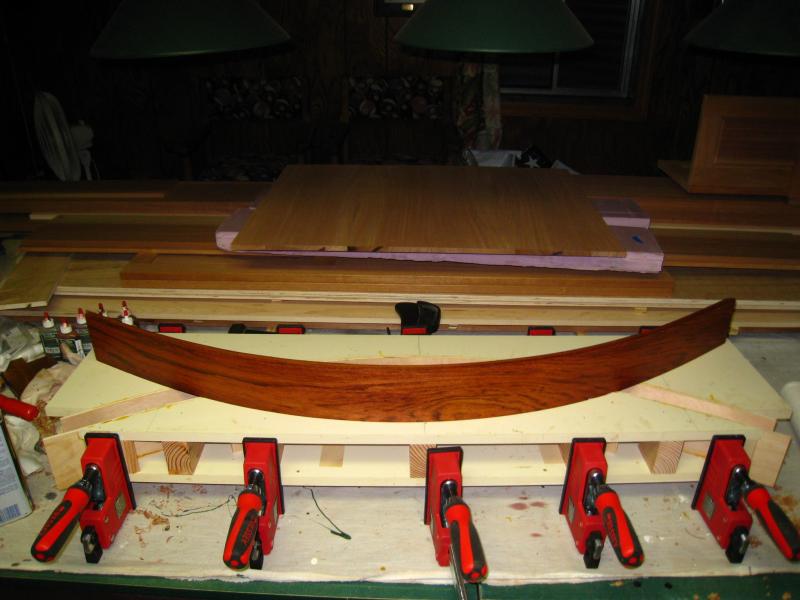
The lightbox assembled. The center is made from the same stock of sapele as the door panels. Holes were drilled for anticipated lighting.
The old microwave cabinet was disassembled and the top, back and bottom were reused. The rest of the cabinet was made from 5/4 sapele.
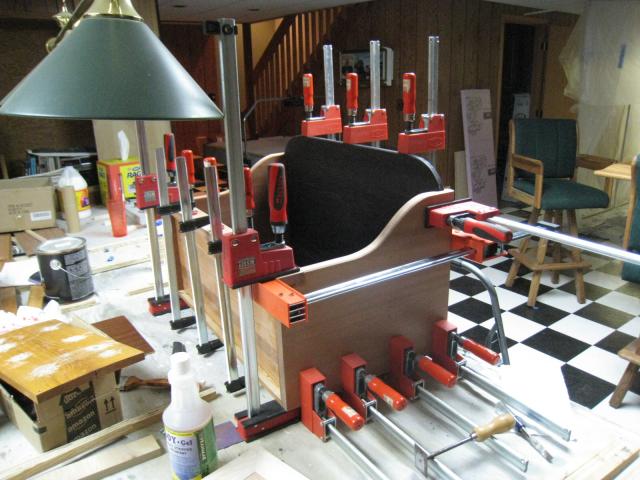
Another view of the glue-up. You can see the spray tent in the upper right hand corner. Cheap but effective.
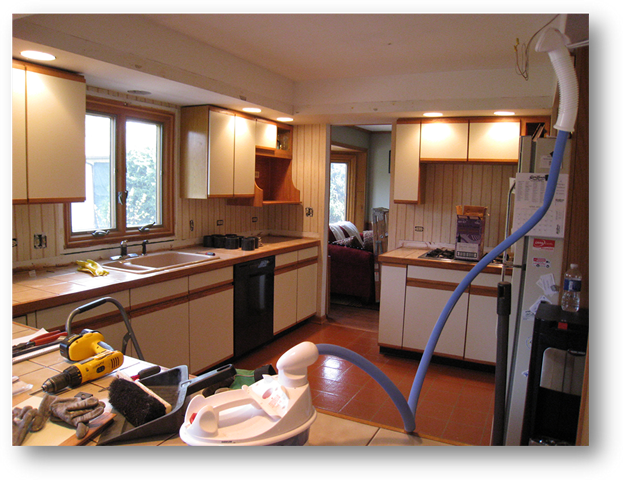
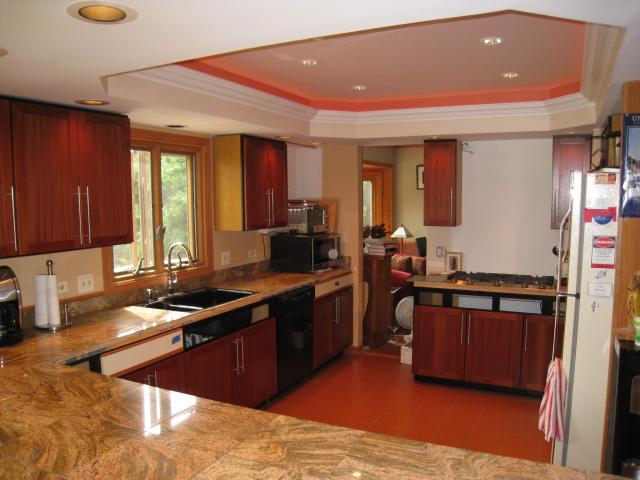
How it all started. The device in the foreground is a steamer used for removing the old wallpaper.
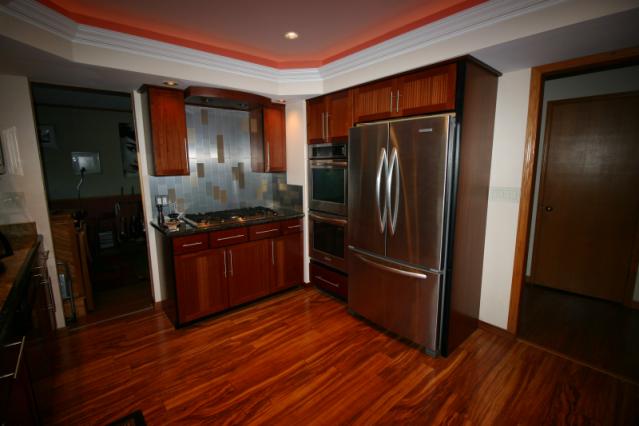
Around the corner from the last picture but finished. The flooring is Pergo XP in Koa.
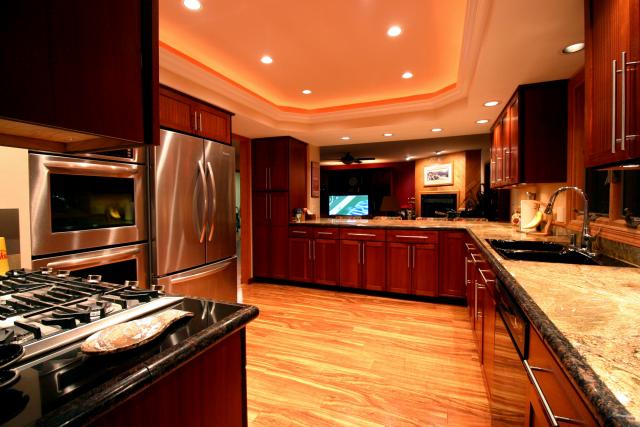
Taken with a wide angle lens