Laguna Driftmaster
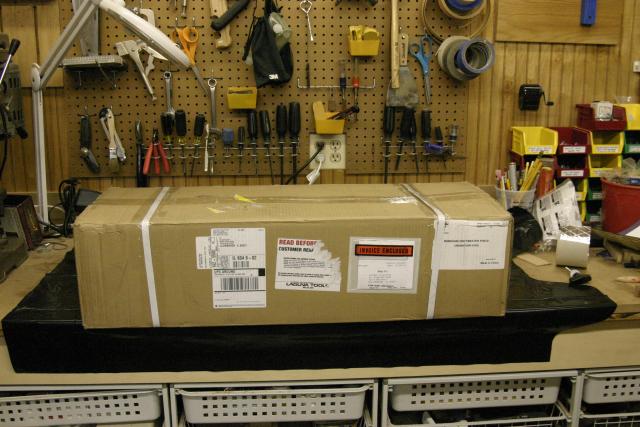
The package as it came. I laid down a plastic bag because I anticipated grease and oil on the parts.

The fence, sliding rail and other parts and pieces
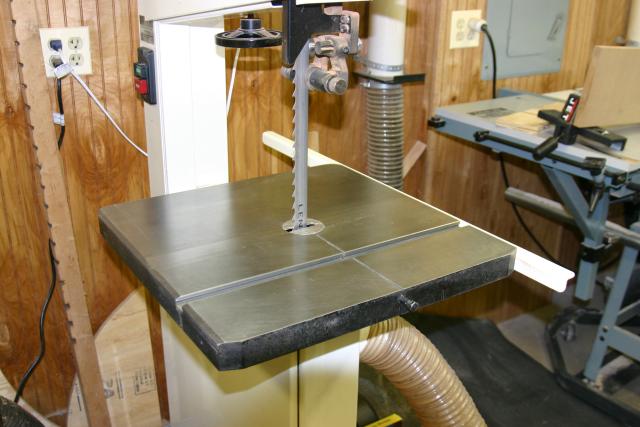
After unpacking and cleaning most of the anti-rust grease off, I removed the stock fence from my bandsaw. I left the fence end support (on the right) from the old fence, just in case.
In the picture above, I had already drilled out the two holes that the universal brackets will be bolted through. The instructions said to drill a 1/2" hole but I stopped at 13/32". It was just the right size.
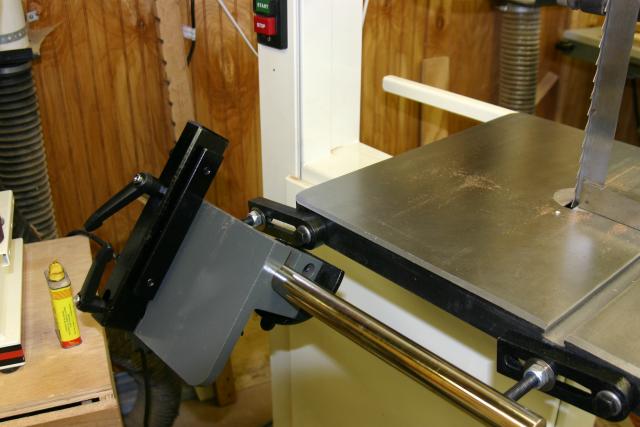
I then followed the directions and attached the brackets and fence rail. Then I put on the slide block with the piece they call the rim (black) that holds the fence in place.
I had to use a large Crescent wrench to keep the brackets from rotating. Getting this far took me about an hour. Much of that was gradually upsizing the bits as I drilled through the side of the table. I was able to use the same holes the old fence used. The sides are thicker there.
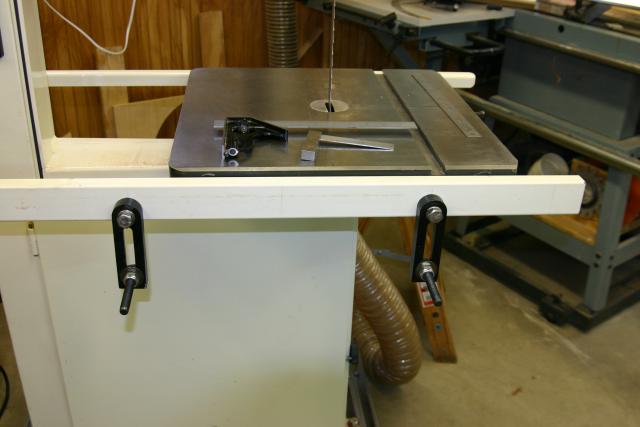
Before installing the threaded rod, I wanted to see how the fence sat on the table and slid along the rail. I already knew this was going to be an issue:
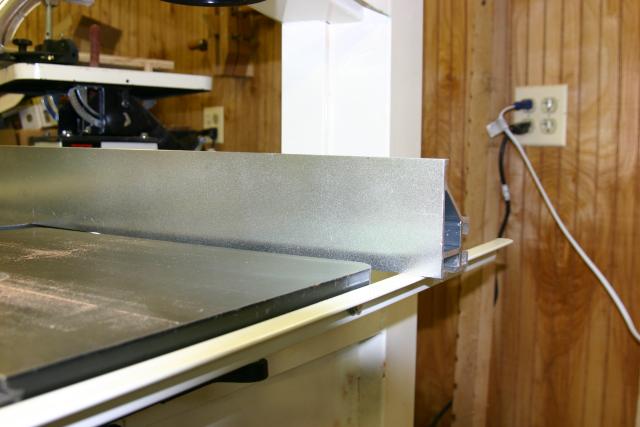
Once you go past the end of the table, there's nothing to support the end of the fence. I solved that by scavenging parts from the old fence. I can now slide the full length without the end dropping. The black angle keeps the fence down too. There's a round headed plastic piece that rides on the top of the white angle.
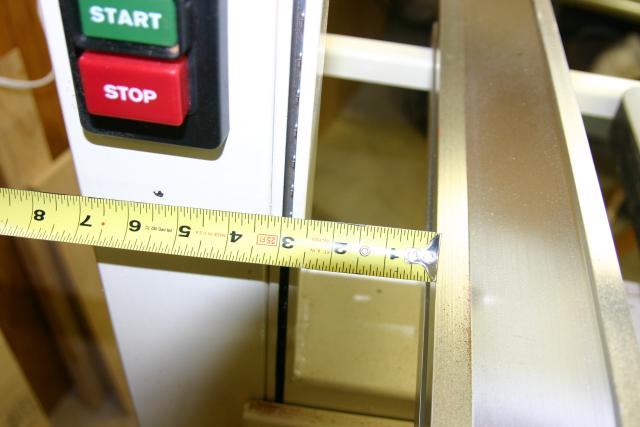
The other problem was, even though I had mounted the brackets as far to the right as I could, I was still left with 2-1/2" behind the fence. If I pushed the fence back any farther, it would come off the rail. My rip width just went from 17-1/2" to 13-1/2", 1-1/2" was because of the fence but the rest was due to the location of the rail. So I had to devise another plan.

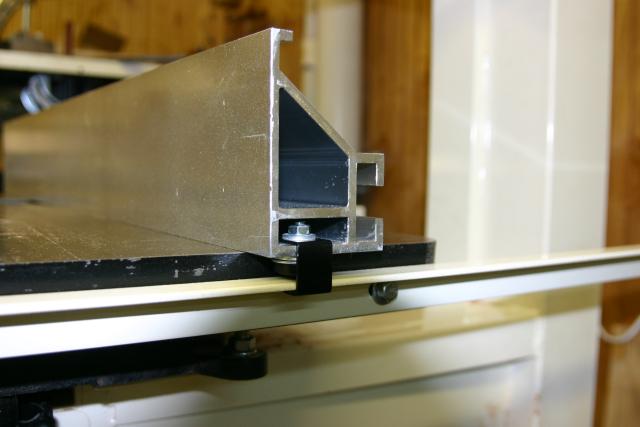
I took everything off, then got the old rail and bolted it to the table using the same holes I had already drilled out. I inserted spring nuts into the hollow of the rail and tightened them from underneath.
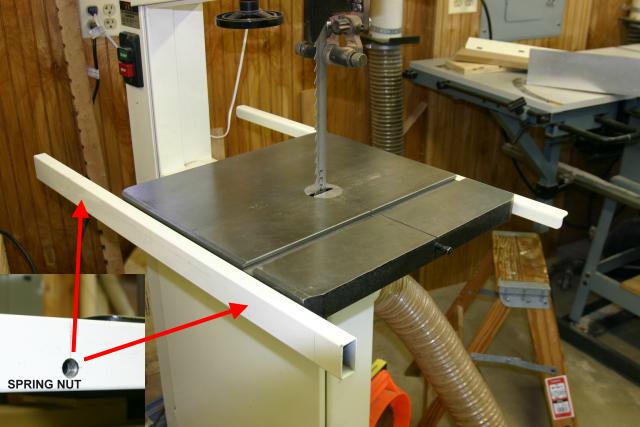
Once the old rail was firmly attached, I figured I'd do the same on the other side for the universal brackets. So I drilled 1/2" holes in the old rail and slid 1/2" spring nuts to where the holes were. The inset picture (bottom left) shows the drilled hole with the spring nut behind it.
I then attached the universal brackets to the old fence rail. I needed the new rail that much farther back to give the fence full motion from blade to riser arm. Once I have everything just right, I'll reattach the measuring tape and make a pointer for it so it actually works. The aluminum angle with measuring tape that came with the Driftmaster looks like it can only be used on a Laguna bandsaw.
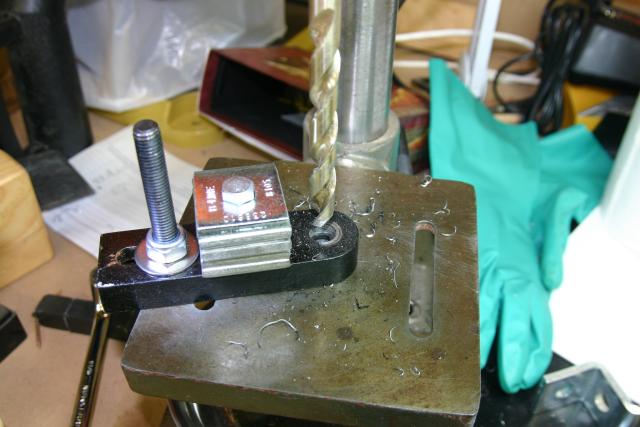
Because the spring nuts are 1/2-13 thread, I used some stainless steel 1/2" hardware I had from an old job. I had to drill out the brackets to accommodate the larger bolts. To keep the thing from spinning away from me, I used a Unistrut Z-bracket and some strut washers to bolt the piece down to the drill press table.
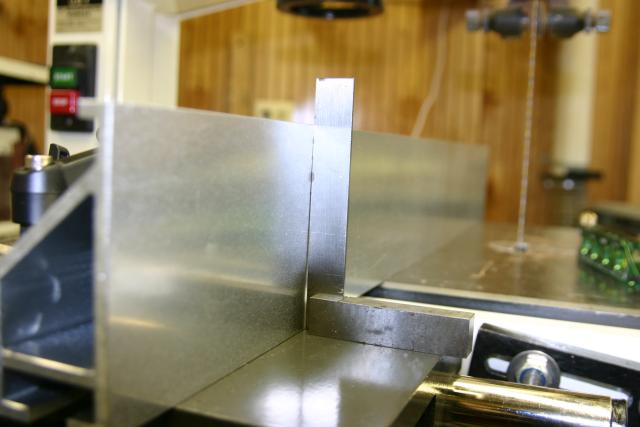
After I got everything back together, I went about setting the rail at the right height, so it slides end to end with about 1/32" gap under the fence. I got it perfect but found the fence face wasn't square to the table. That adjustment is made by rotating the universal brackets. But if you rotate the brackets, you change the height of the fence off the table. I kept playing around with it to get everything tight and square but nothing worked. So I put the square on the slide block rather than the table and found this:
I ended up putting a shim under the fence and it works well enough but every time I readjust the fence, I have to reset the shim.
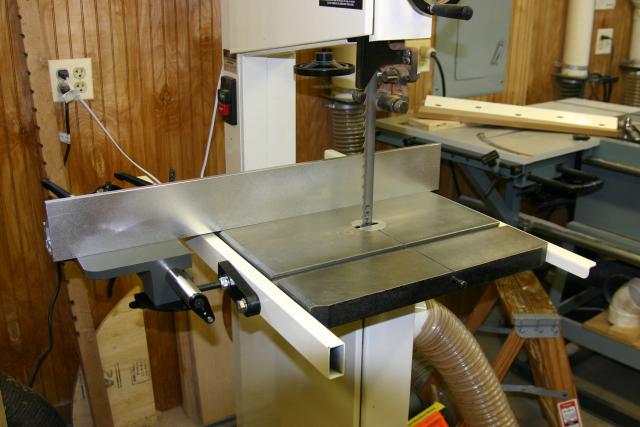
I like that there's more support at the infeed side. The 8" high fence should be arriving next week. But I want to get that rim squared up before I take on that project again.
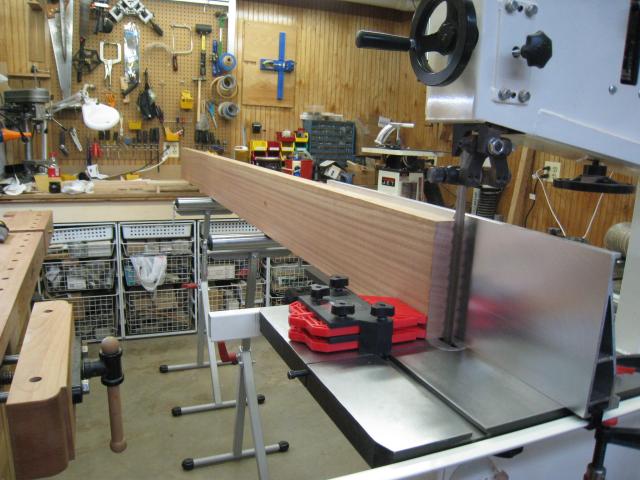
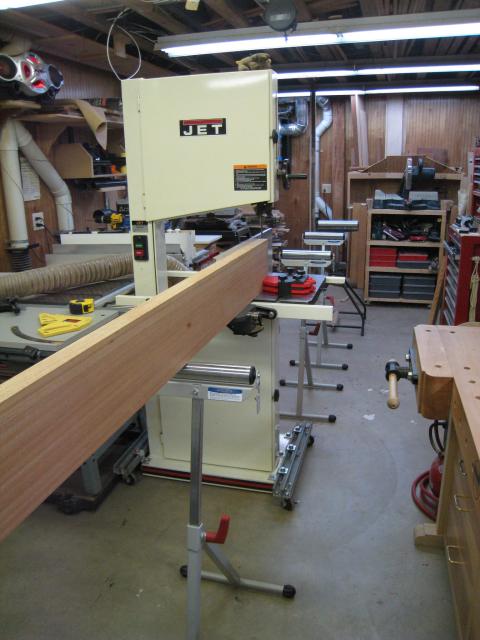
Setting up for the first big test - 8/4 Sapele
With a Lennox 1" Woodmaster CT blade and the the 8" tall fence, the resaw job went very well.