J-Class 1934 America's Cup
UK Challenger Endeavour
Scale 1:35
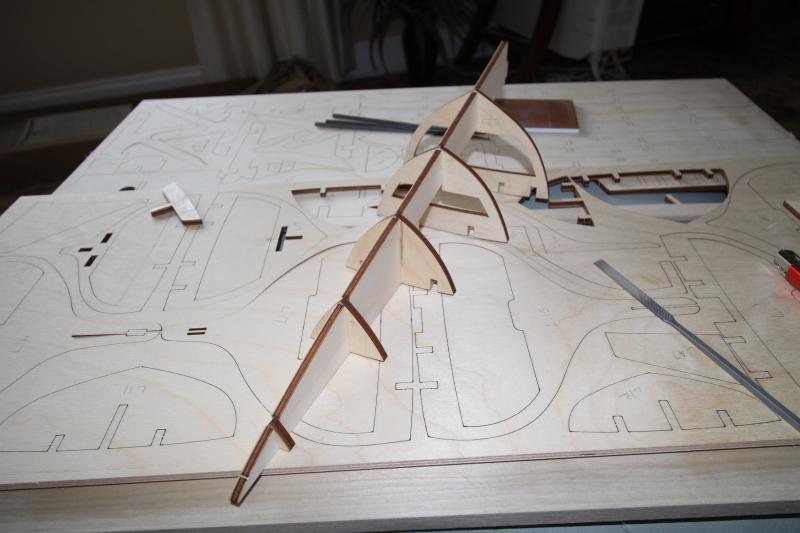
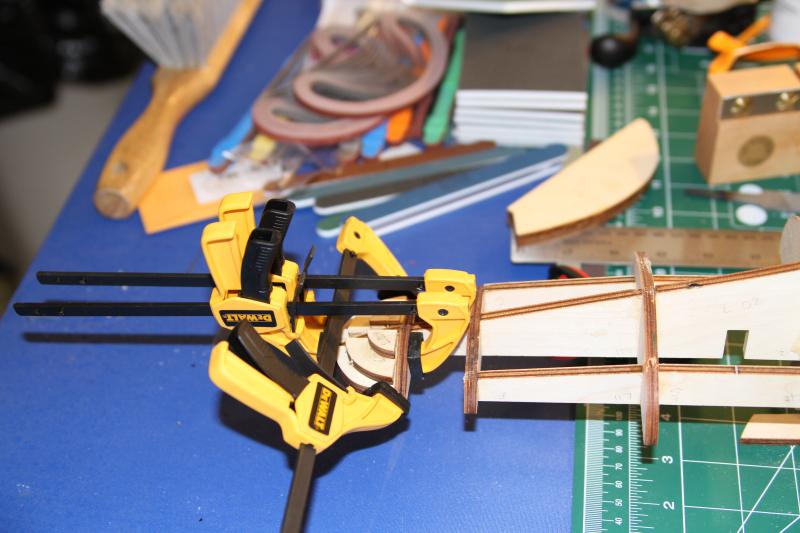
The hull center beam needed to be inserted sideways
Then turned at the slot
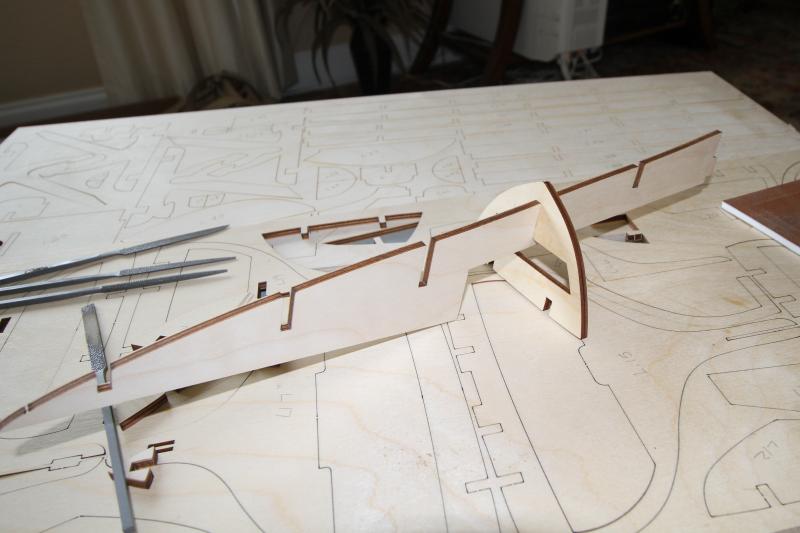
Until finally getting the joints aligned
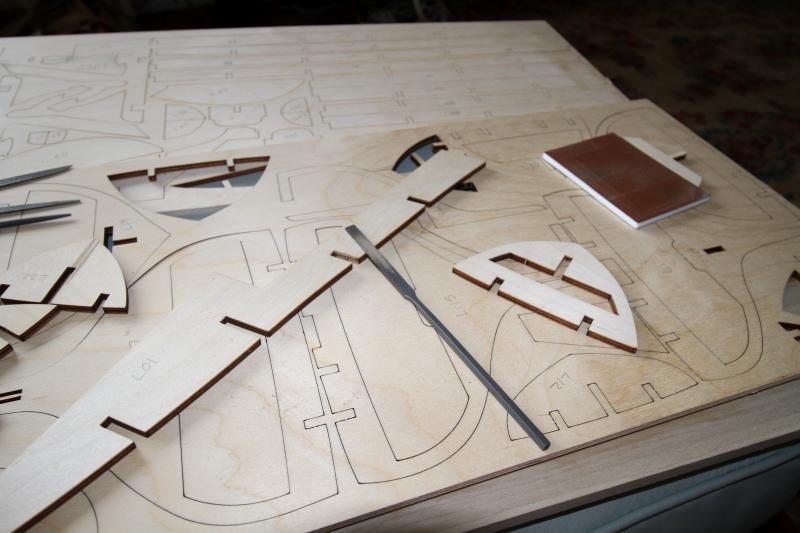
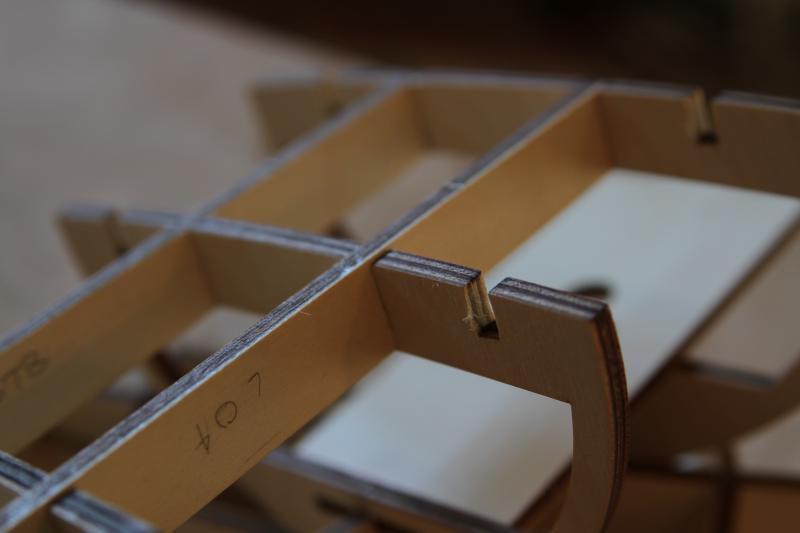
All the slots had to be filed down to allow for the joints to fully seat. Coming out of the plywood sheet, the joints were very tight, too tight to put together without risking breaking something.
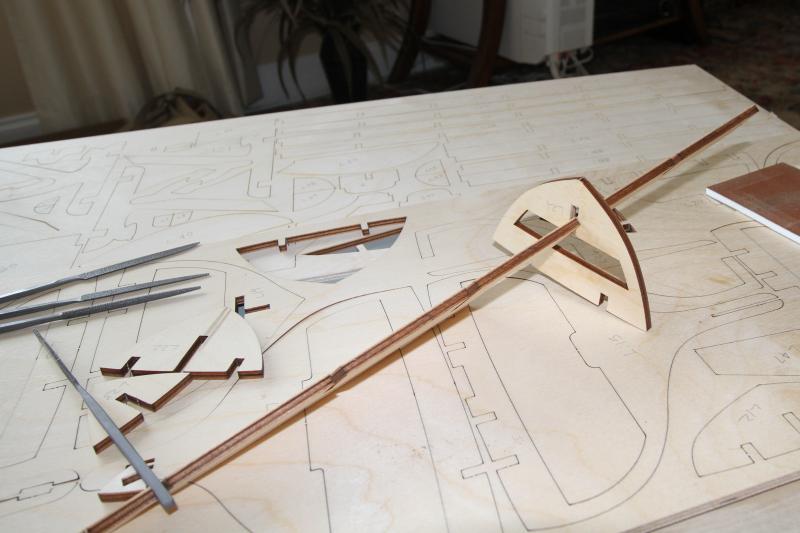
I used a piece of scrap to test the slot width before attempting to fit it into a joint

You have to make sure the entire depth of the slot is filed to fit
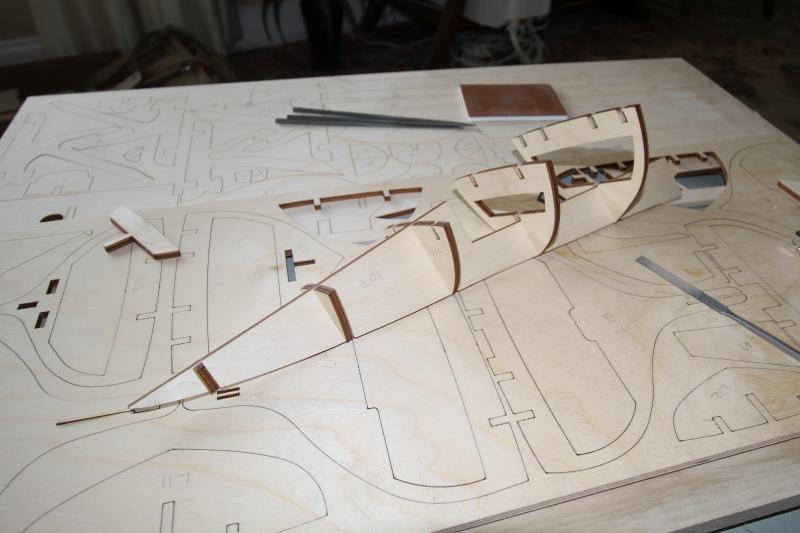
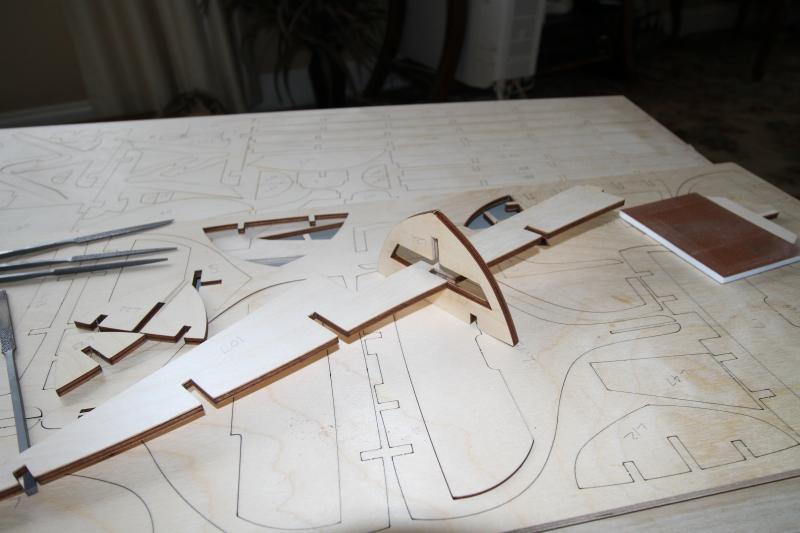
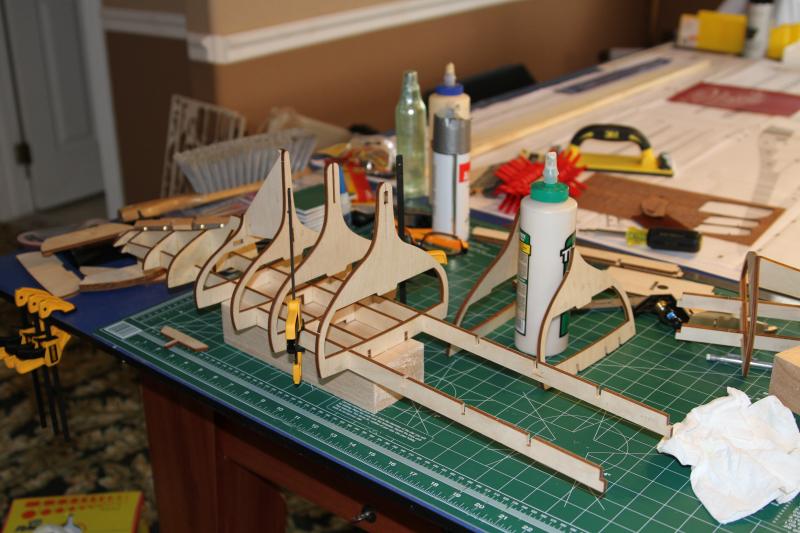
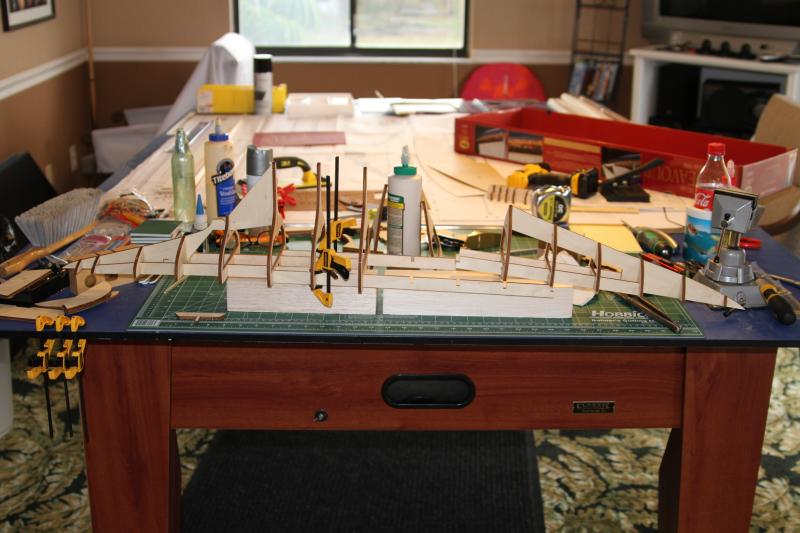
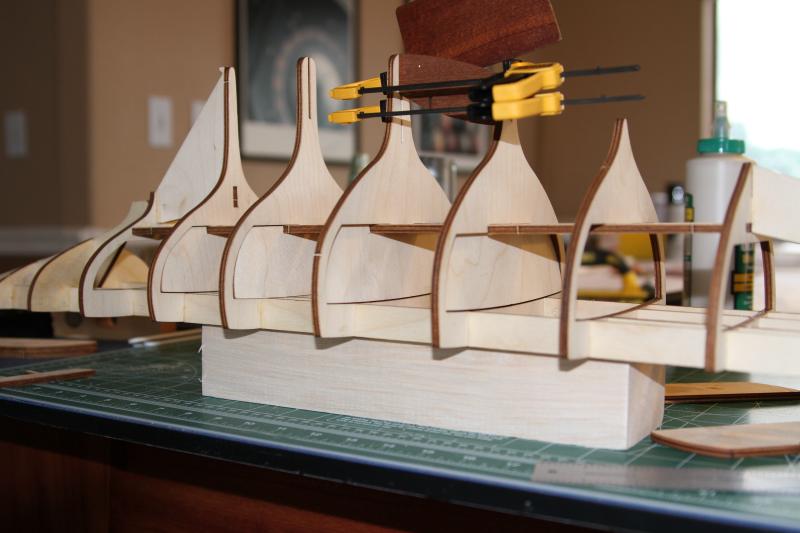
The hull section partially assembled

Another view of the hull section
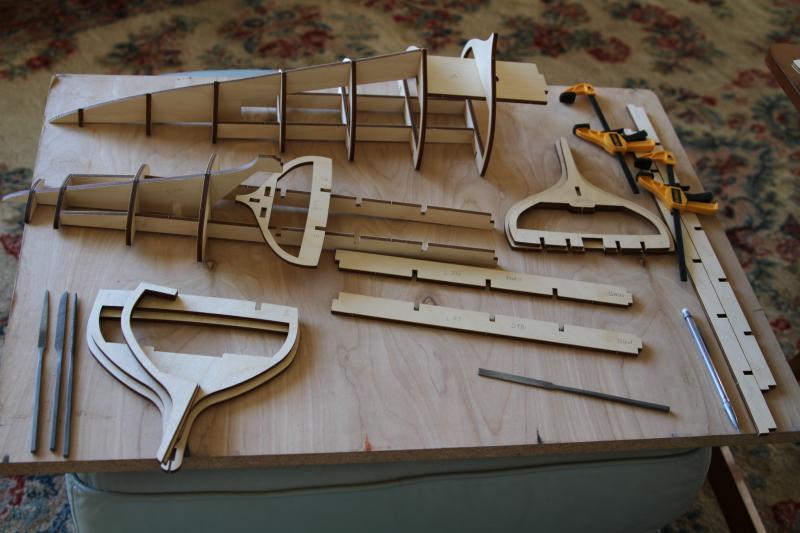
Work accomplished by the end of the first day. I found it is much easier to assemble major components when ll the individual pieces are first filed to fit.
One of the problems with a good fit comes with making sure the parts seat fully. This is a picture of deck beams that haven't fully seated. They need to be flush or the deck will end up wavy.
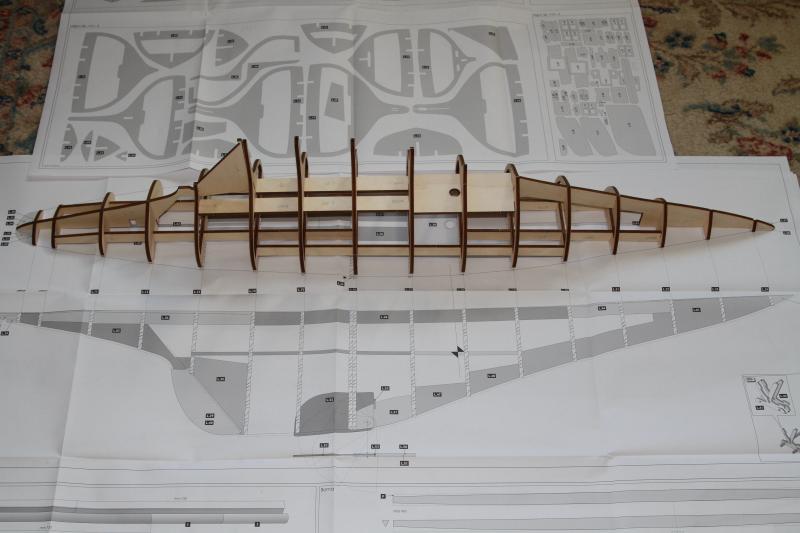
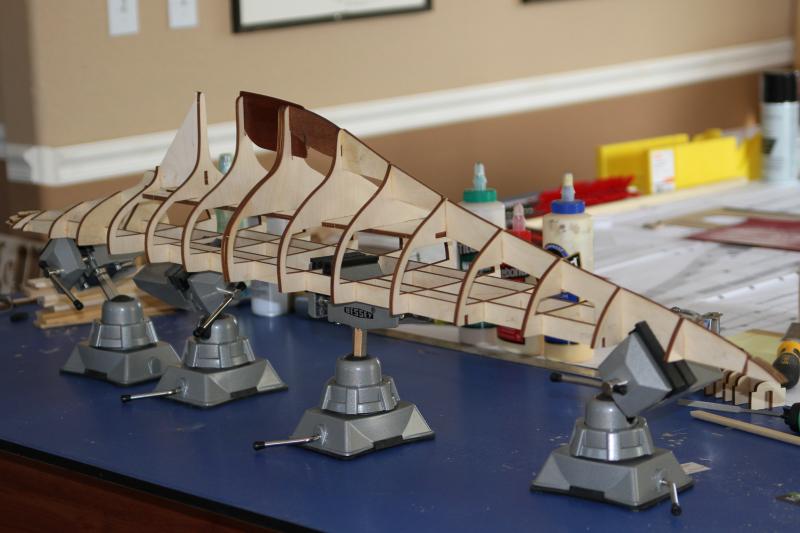
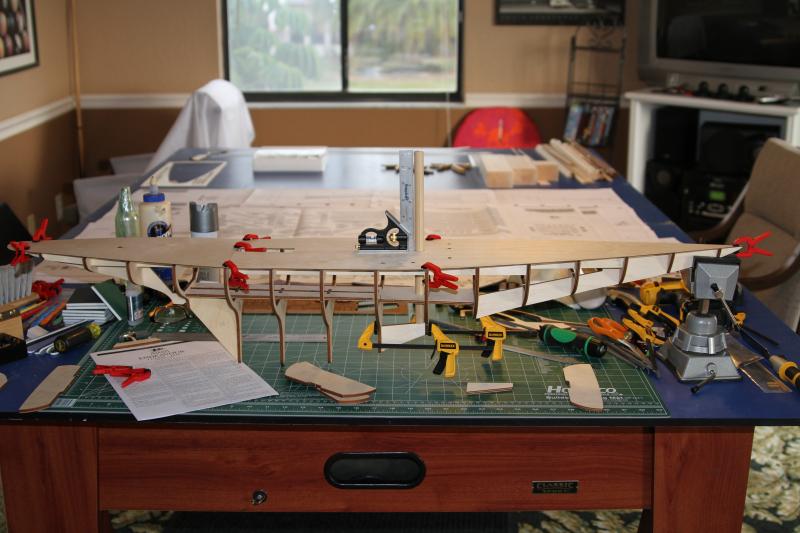
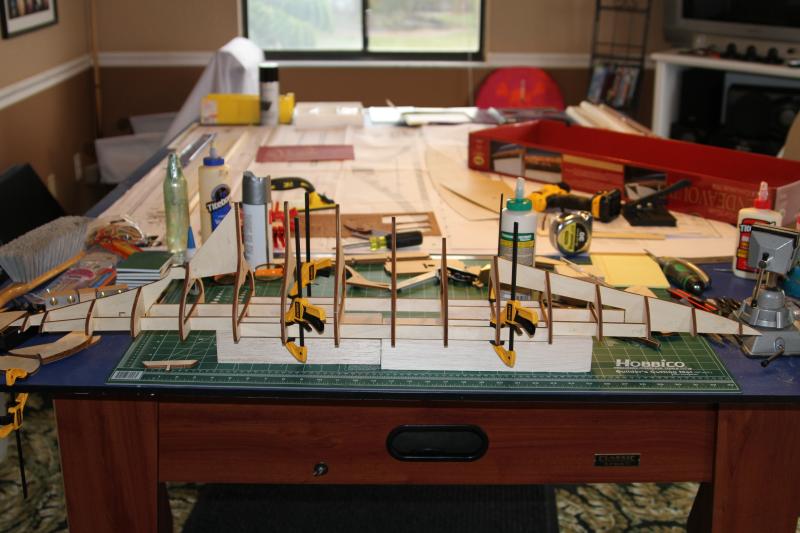
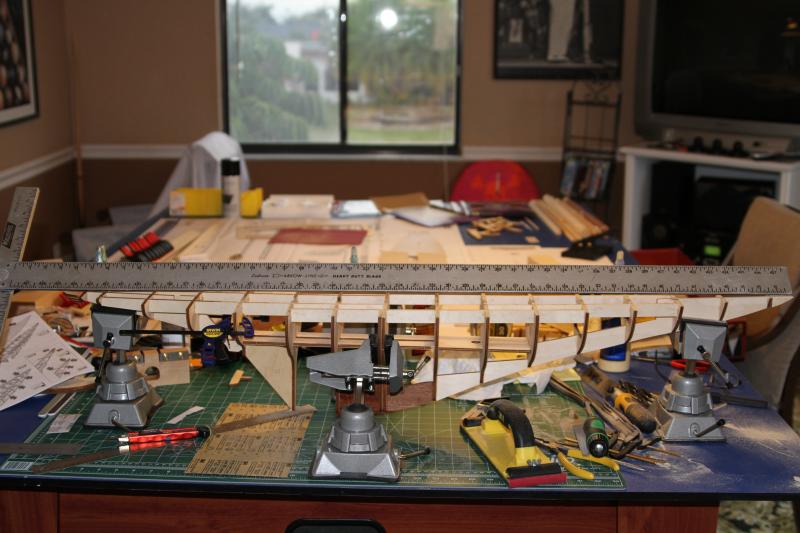
All the hull framing dry fit and checked against the drawings. There are still a few locations that need to be fine tuned.

The side view
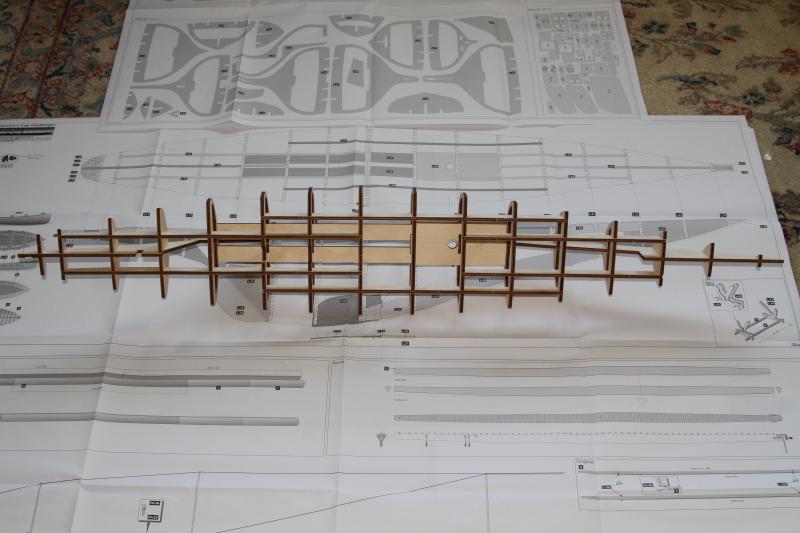
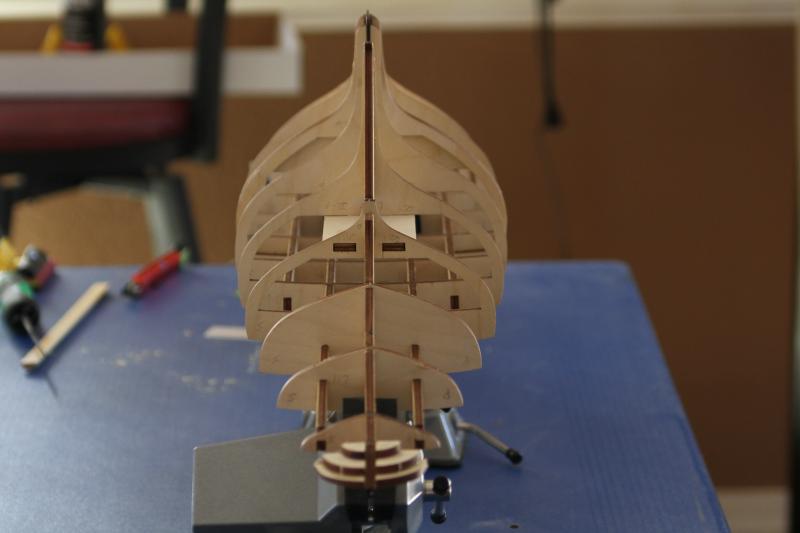
Viewed looking down at the deck
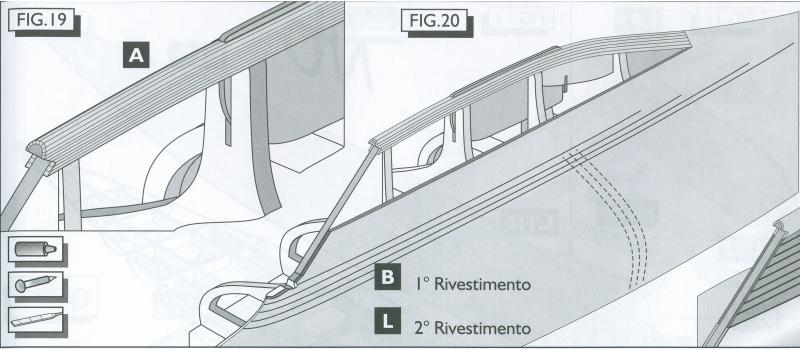
Here the instructions show 2x2mm planks being laid on the bottom of the keel.
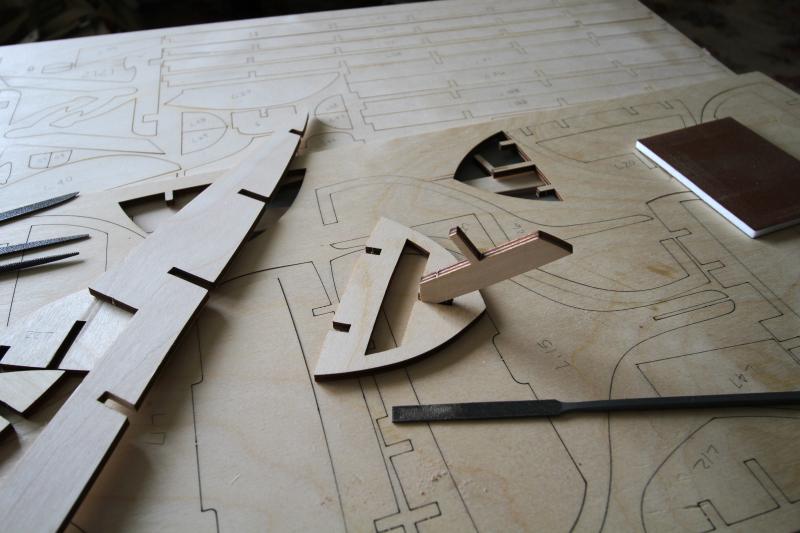
The mahogany pieces that make up the centerboard section are very thin. The slots cut by the laser are somewhat loose and pieces don't hold together as well as the plywood pieces do.
In the approximate down position.
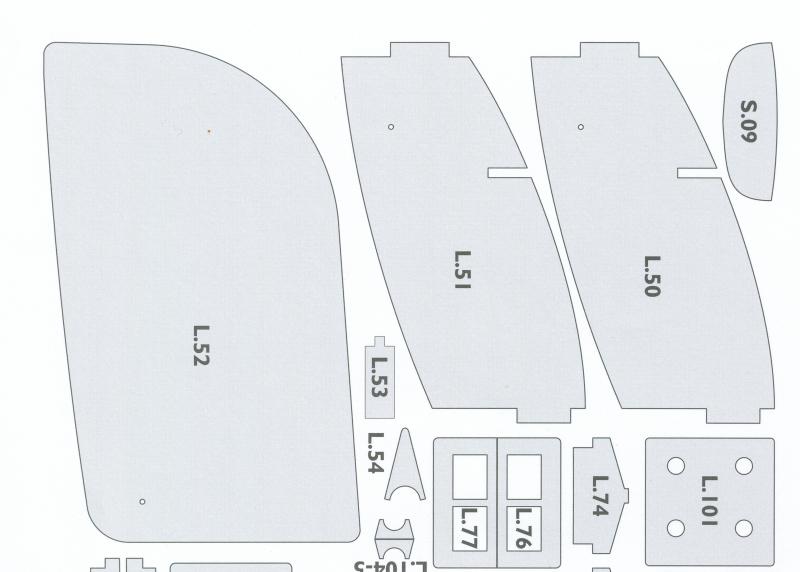
From the plans you can see where the holes are supposed to be to allow for the centerboard to hinge.
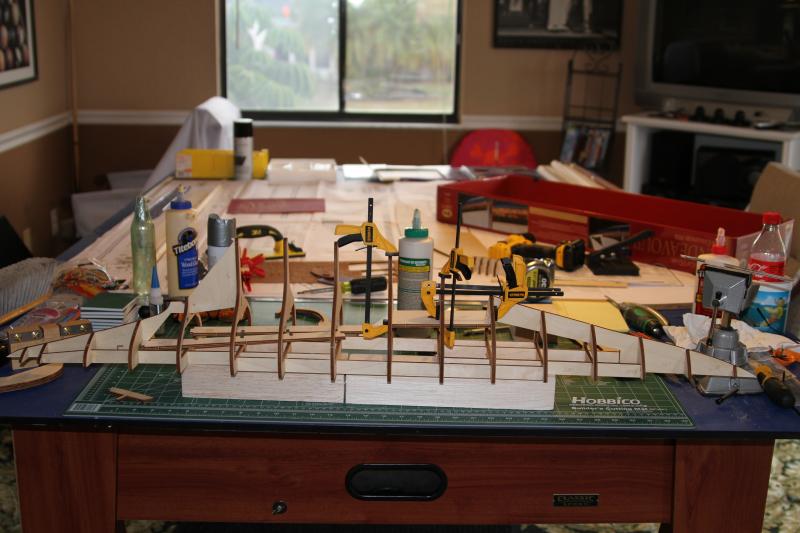
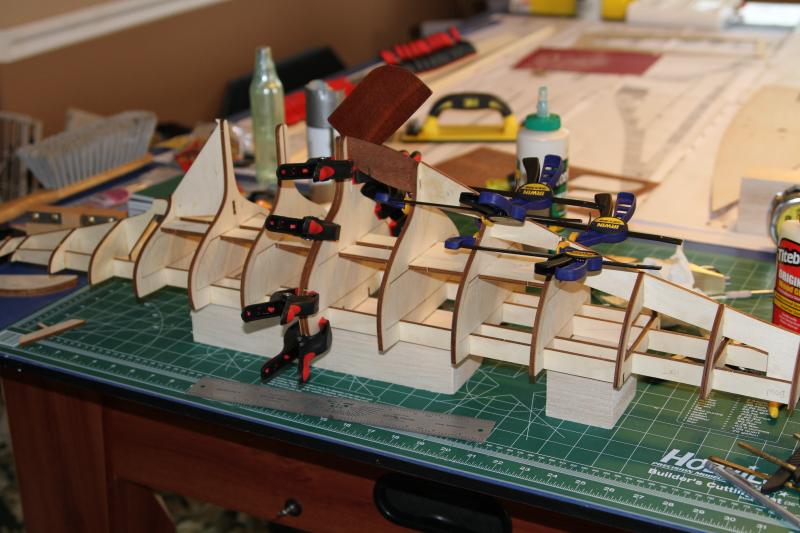
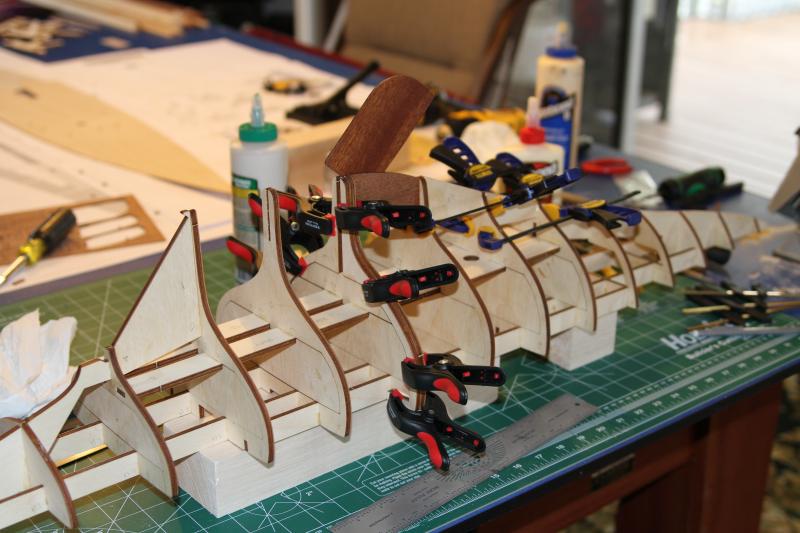
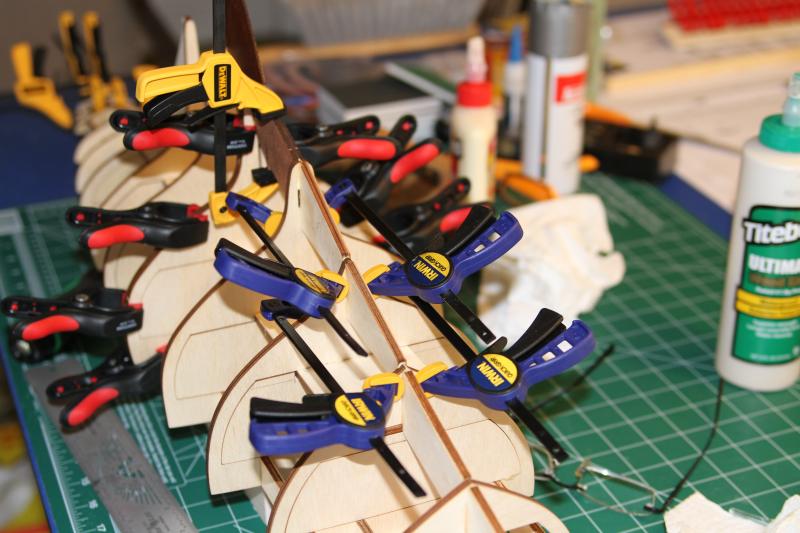
The glue-up begins. Bow and stern sections partially complete.
Bringing the bow and stern together.
Uniting all the frames and beams was somewhat challenging. I ended up using Channel Locks to squeeze the joints together so the deck surface was flush.
Now the installation of the cabin sole begins. No, there won't be an actual cabin in the model. This is just for structural integrity.
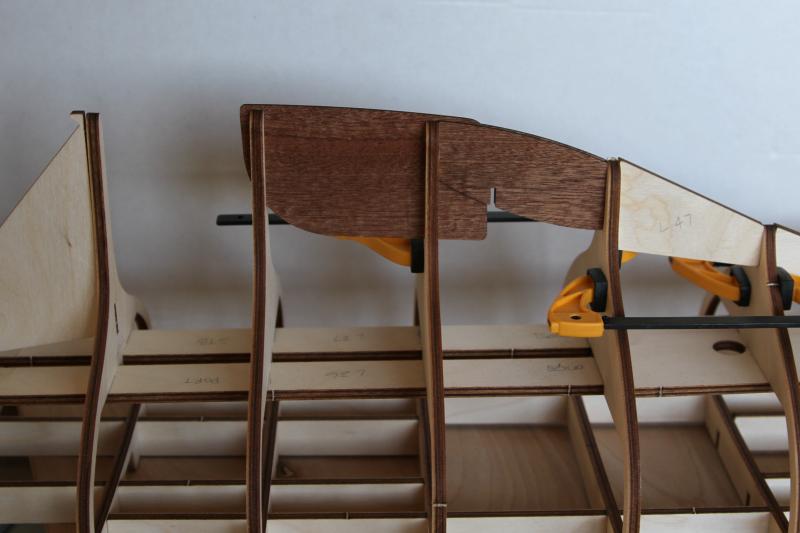
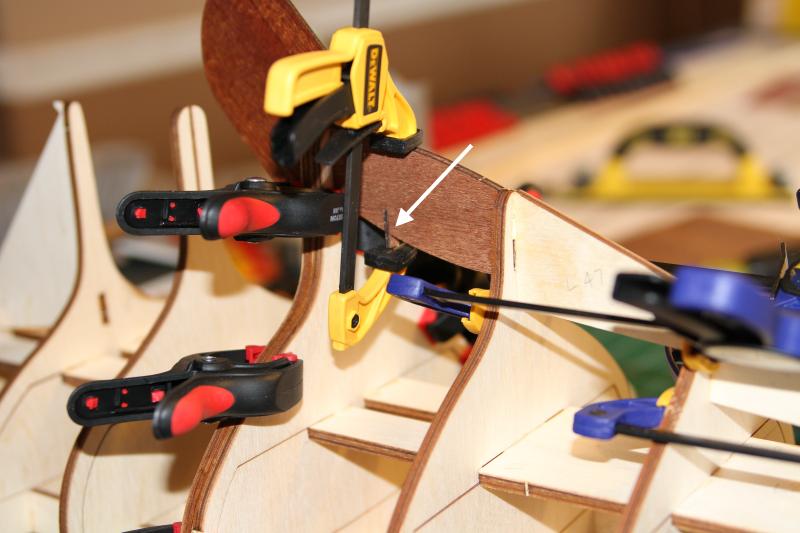
The mahogany centerboard is fitted
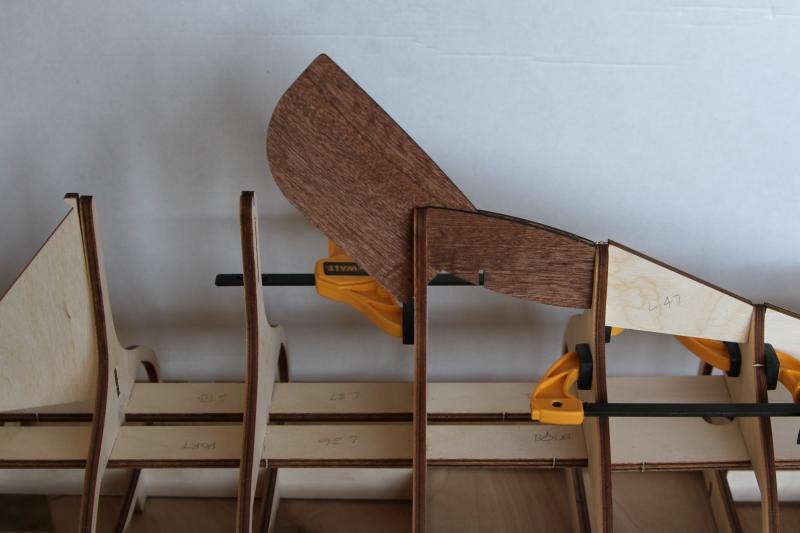
An angled view
The centerboard has 10 coats of lacquer on it now. This should lessen the finish work later.
I couldn't figure why they provided an additional thickness to the frame until I saw other builds. The planking they provide is only long enough to span half the length of the hull. They expect you to join the planks at the middle - a BIG NO-NO! The planks will be staggered, like in real life.
Some of the plywood fill on the stern
Gluing in the stop for the centerboard
Adding the keel board pieces
From the side
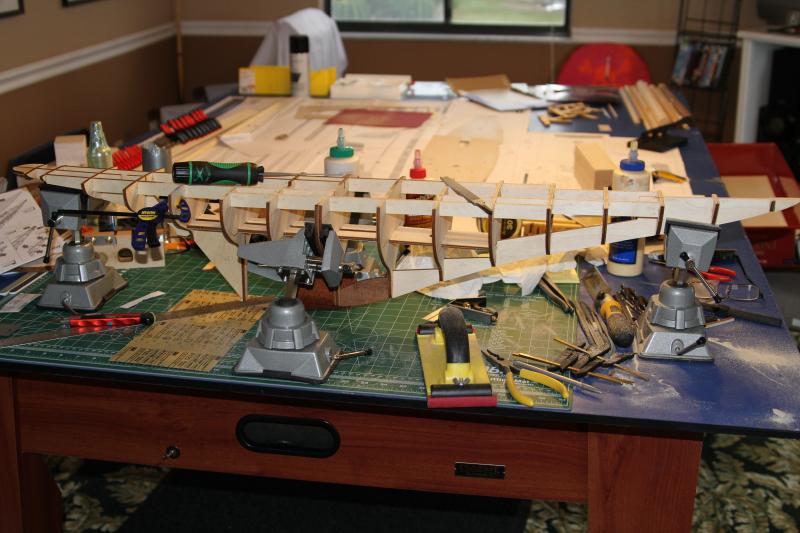
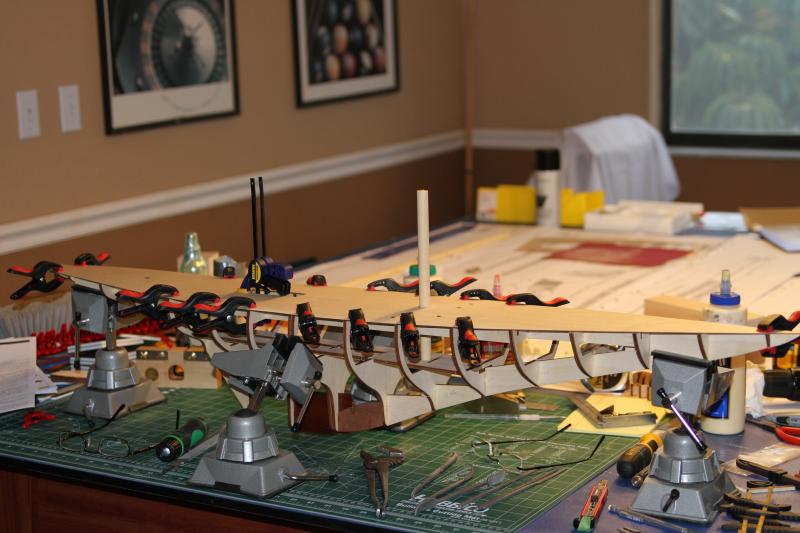
We begin fairing the deck
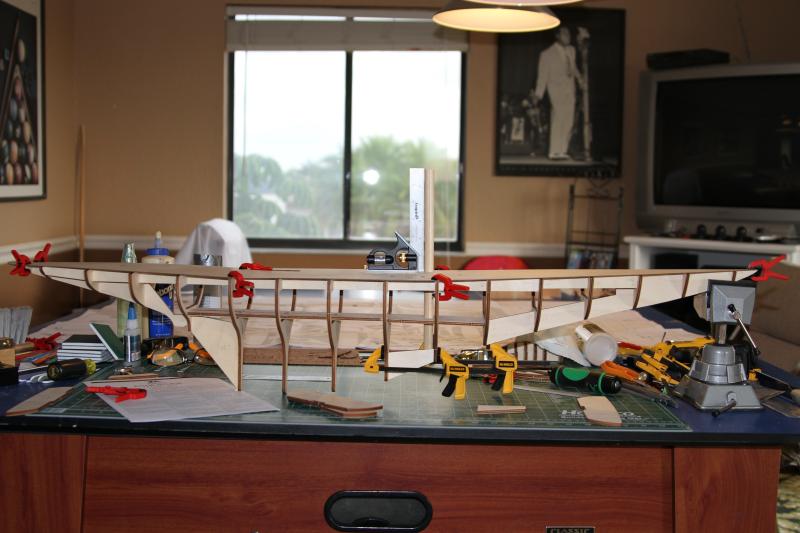
46"
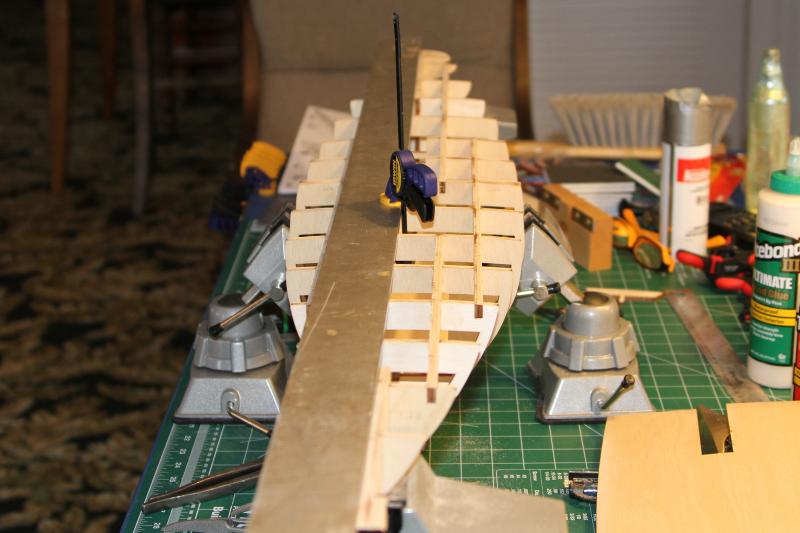
The bow to stern looks true
Checking the deck plywood and mast hole alignment
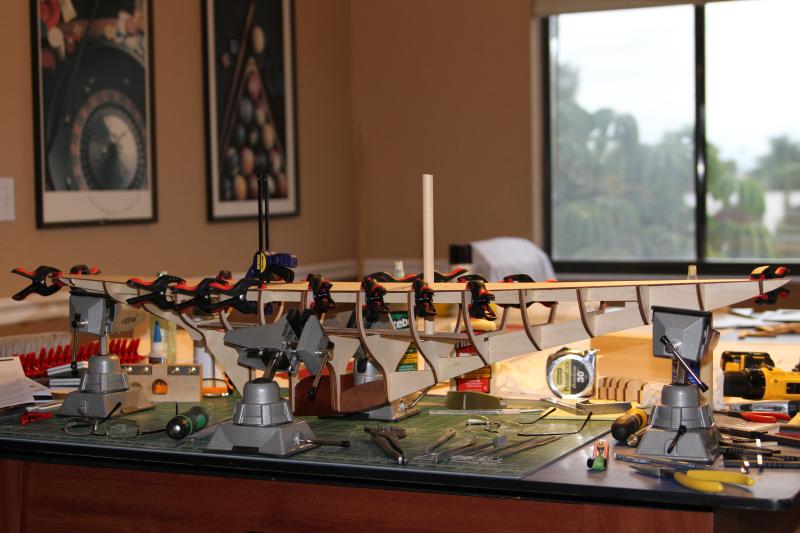
Notice the sheer
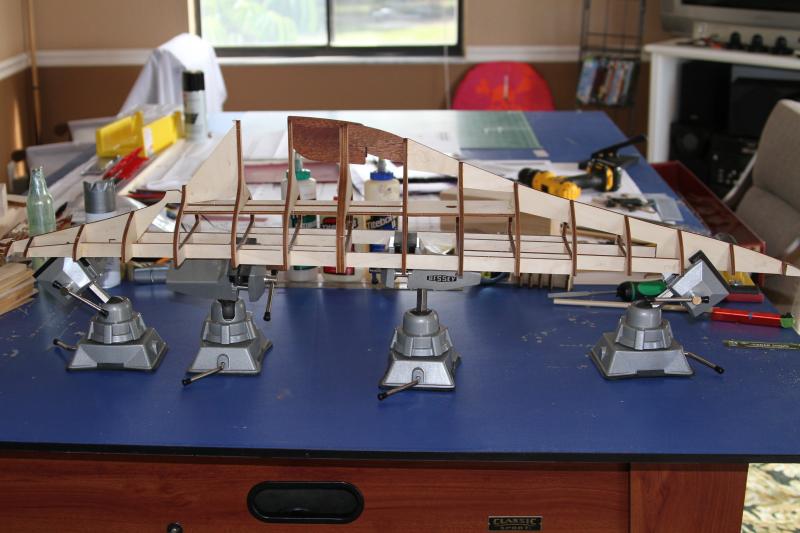
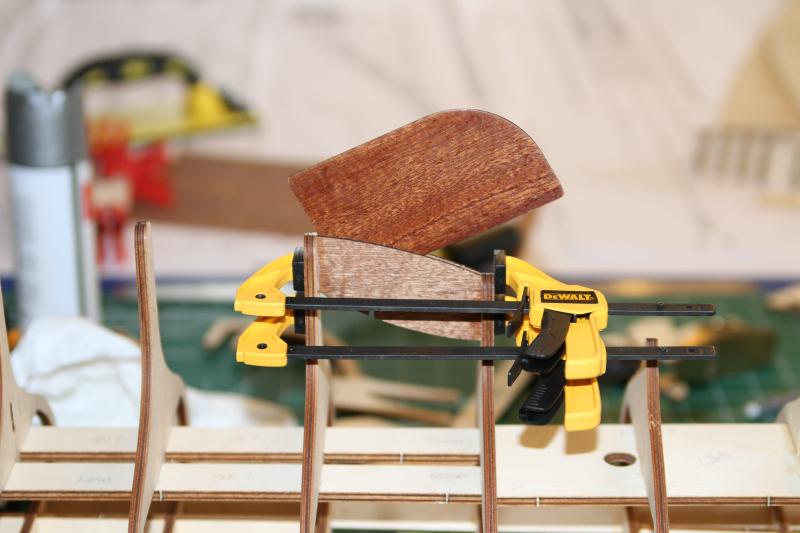
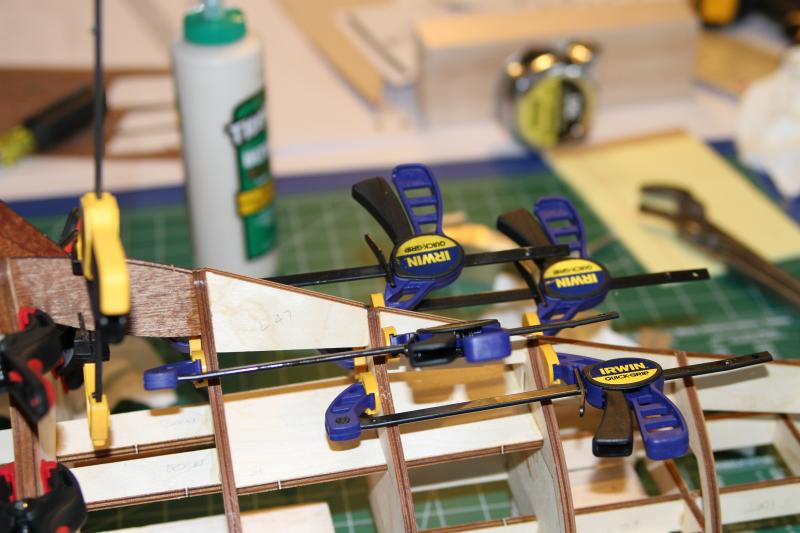
Bessey clamps hold the structure firmly in place