J-Class 1934 America's Cup
UK Challenger Endeavour
Scale 1:35
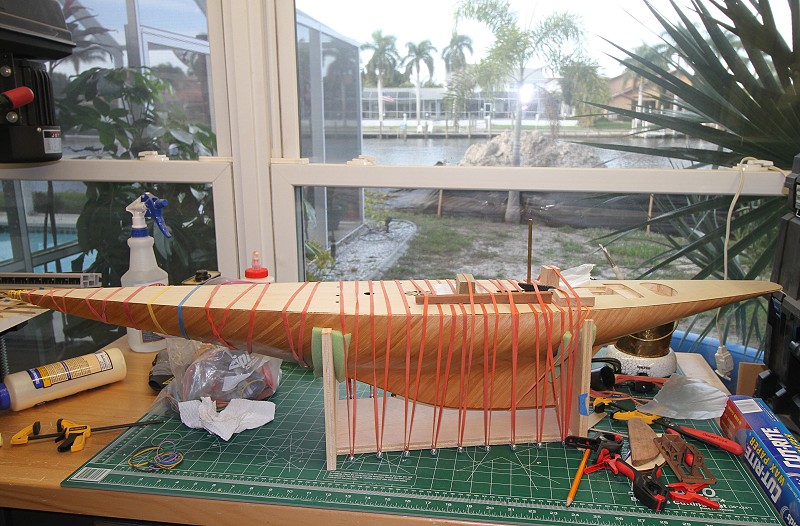
Page 1 of the Topsides work
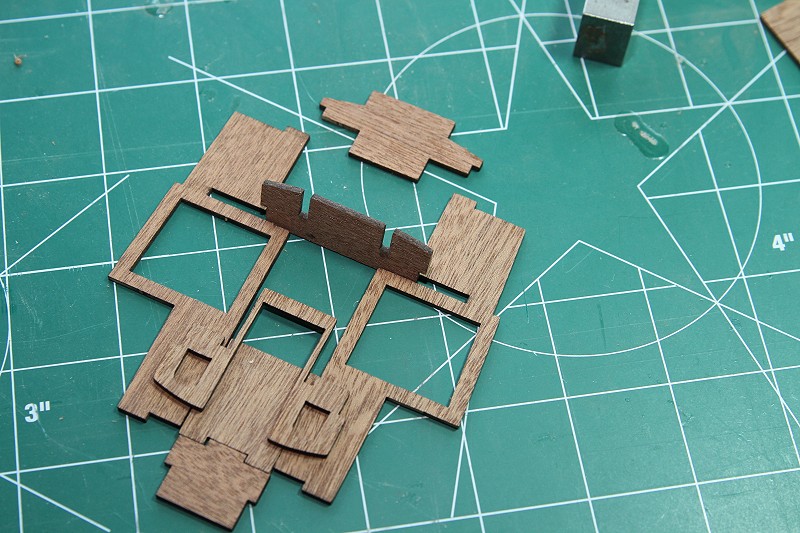
The above are the parts for the deck house. They were sanded only with 320 grit while in the form.
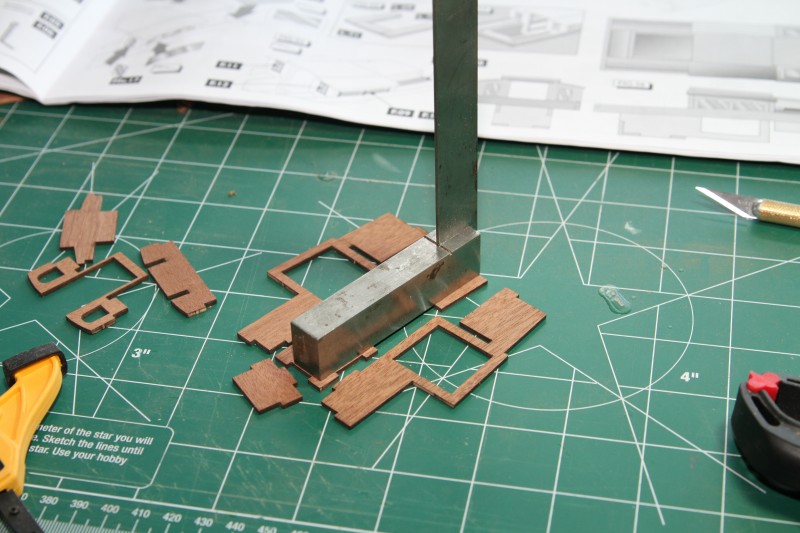
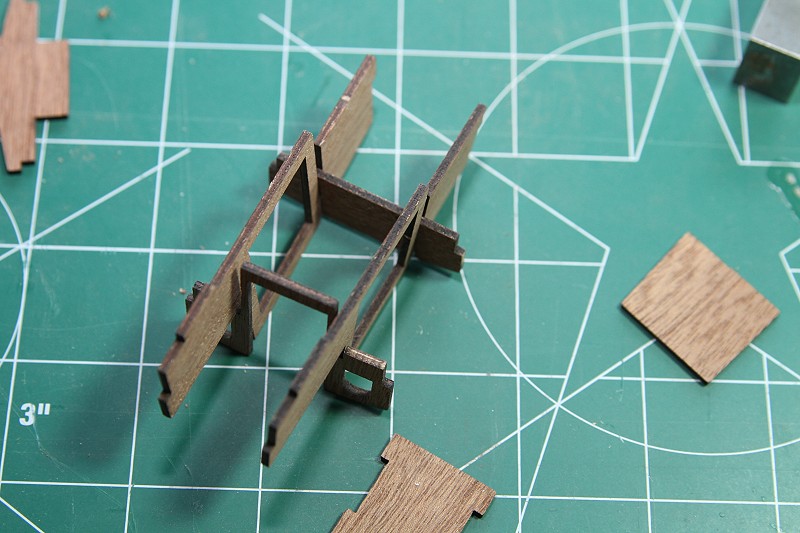
I'll be using the base of an engineer's square to make sure everything is plumb and level.
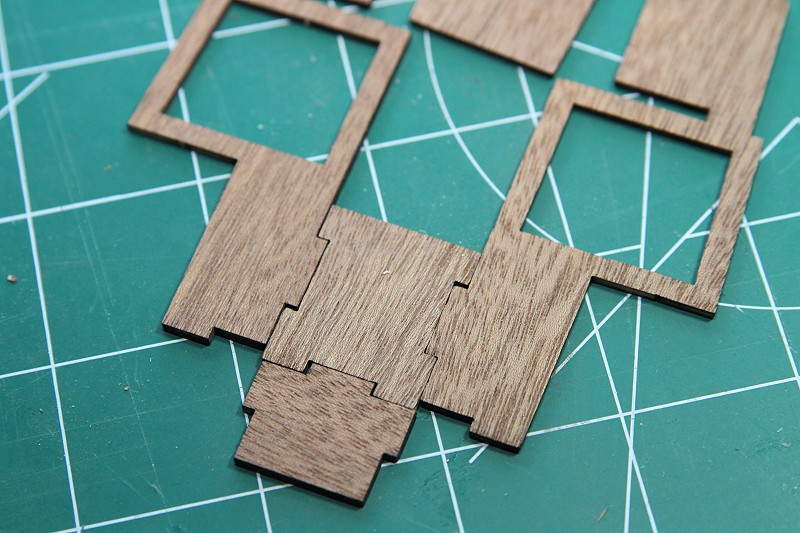
All the pieces in the form were laser cut but, as you can see, the tolerances are sloppy.
With these pieces fitted together, the sloppiness of the tolerances are once again evident. The light sanding with 320 grit sandpaper could have not created such a large gap.
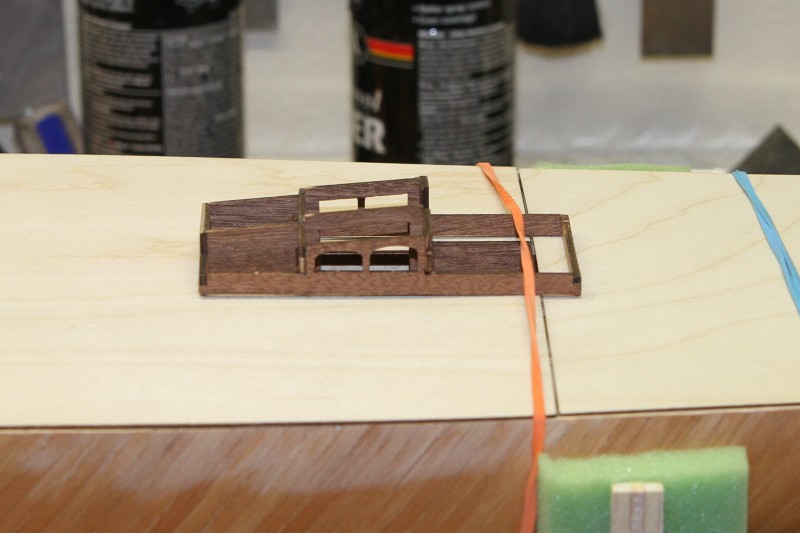
With the parts glued up, it's time to assess the next step.
And the next step will be to toss the kit plans for something more aesthetically pleasing.
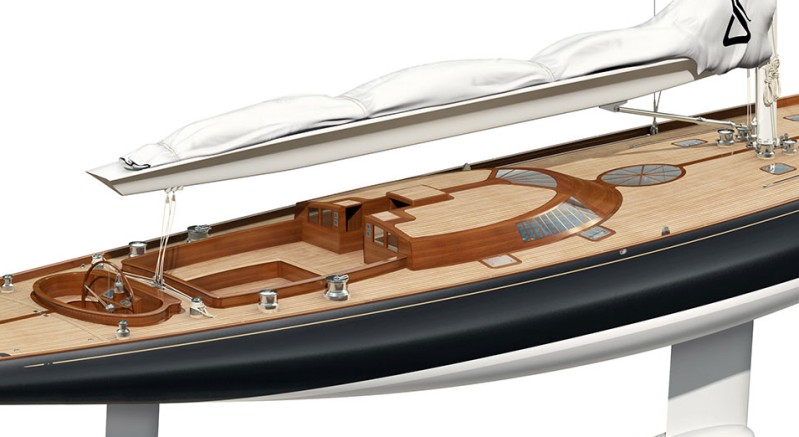
We're going to see how this works...
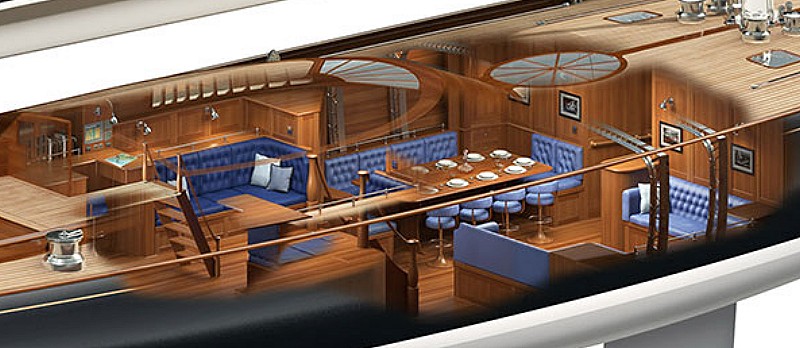
And maybe build an interior, too.
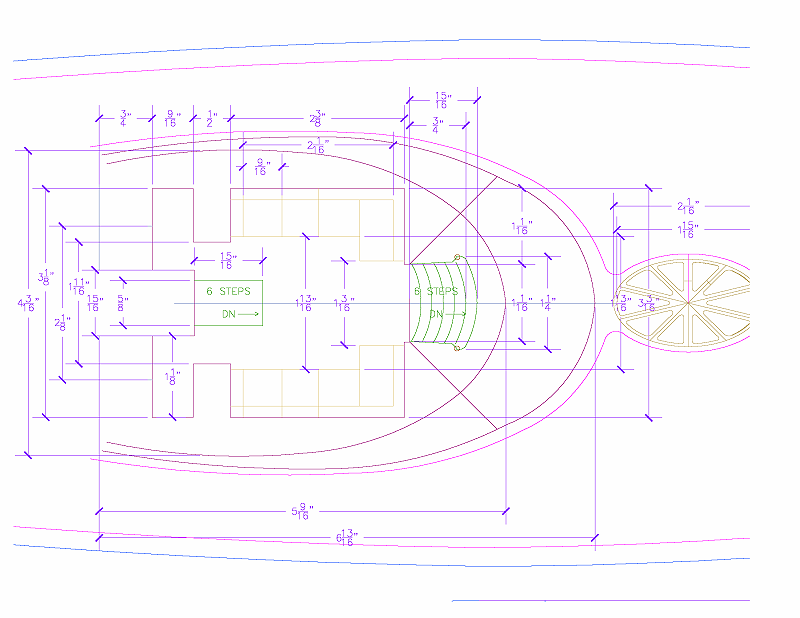
First thing is to draw this up in CAD. Above is the upper interior.
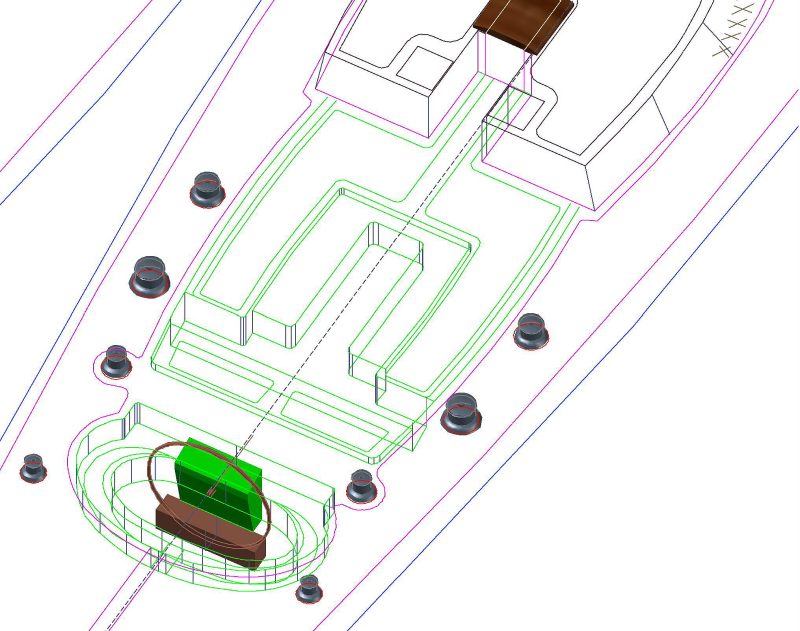
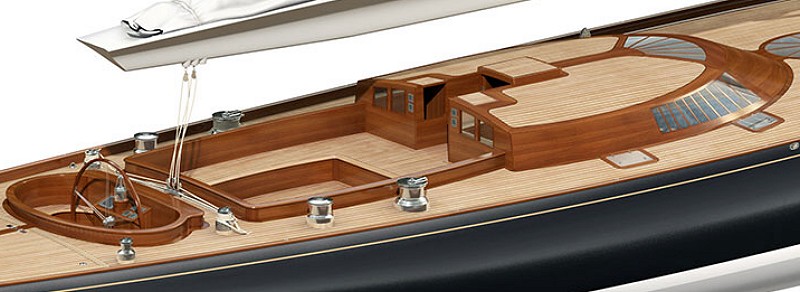
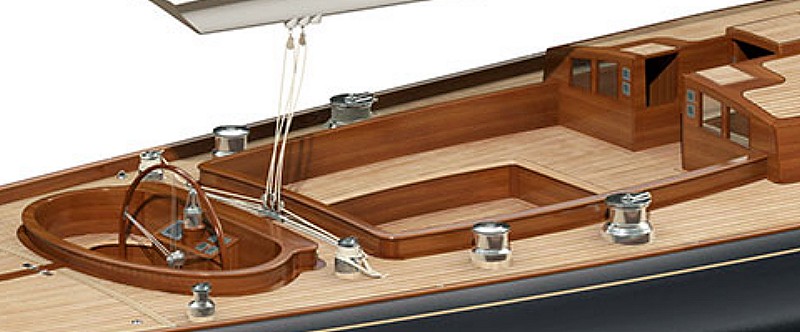
CAD of the helm and crew cockpits.
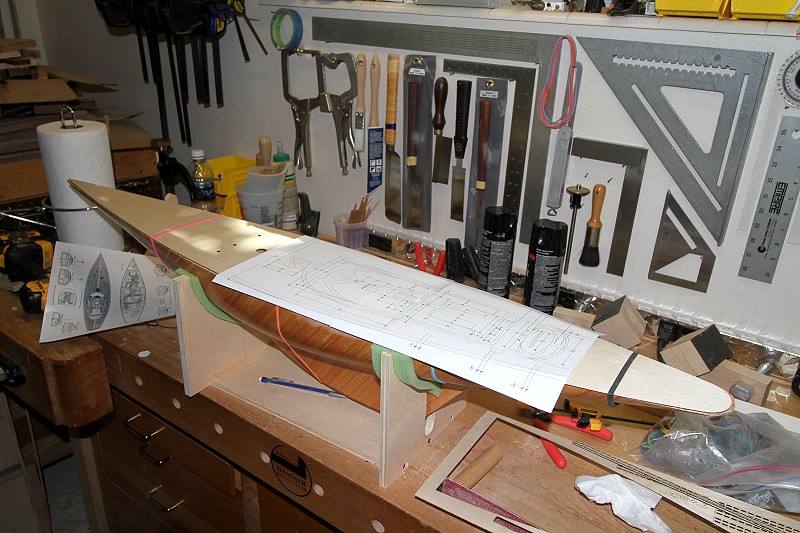
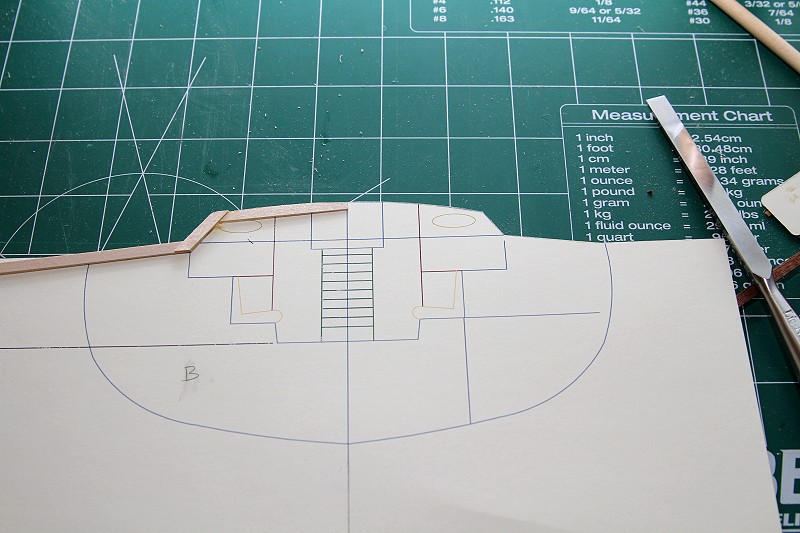
The plans are scaled to match the model.
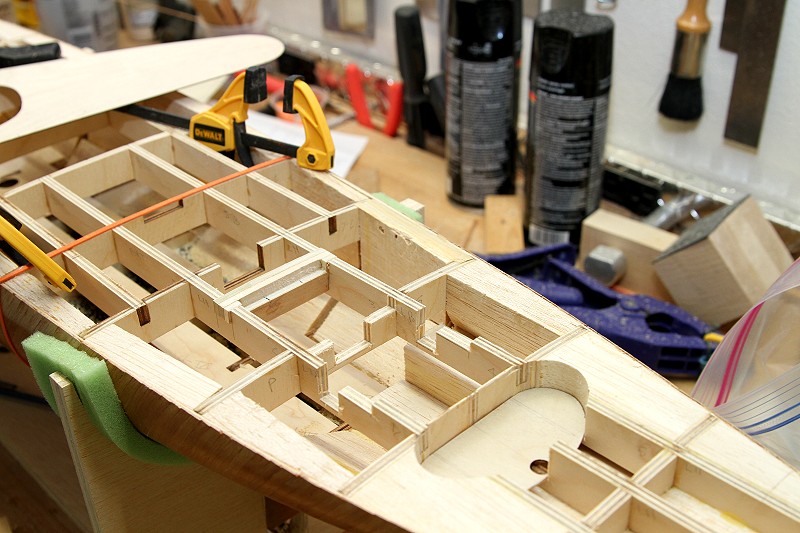
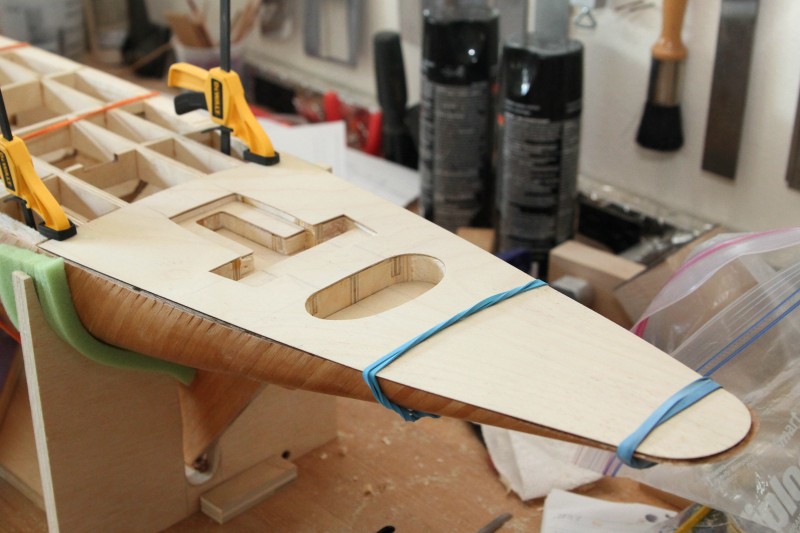
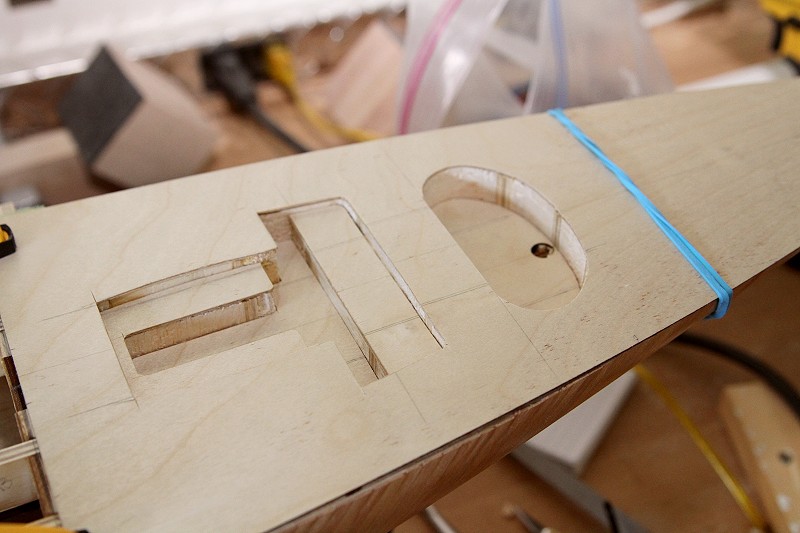
Cut out the plywood decking supplied in the kit.
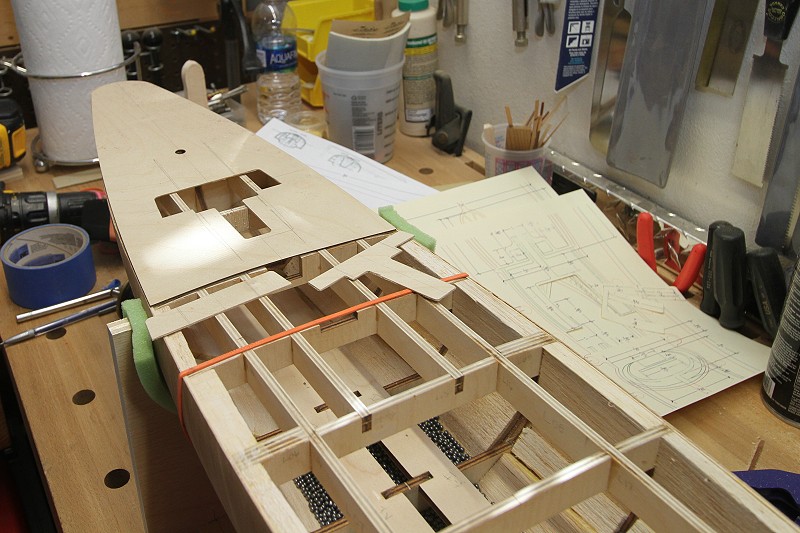
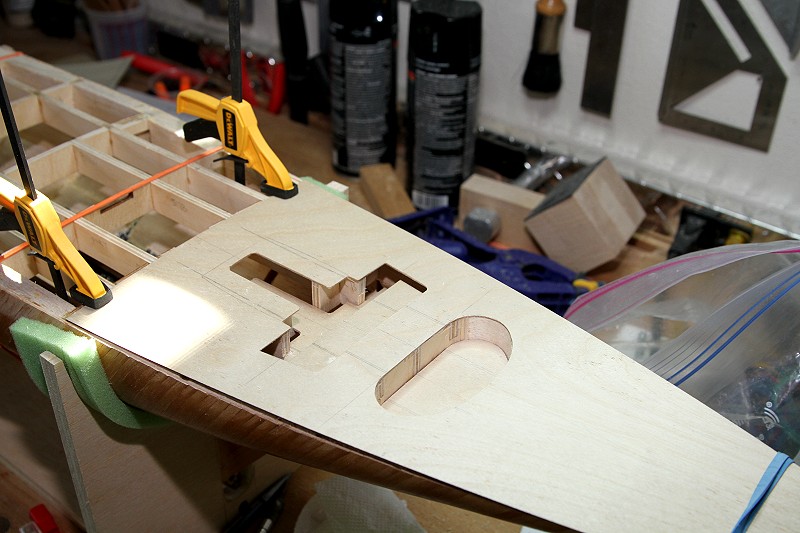
Routing out the frame and balsa fill for the cockpits.
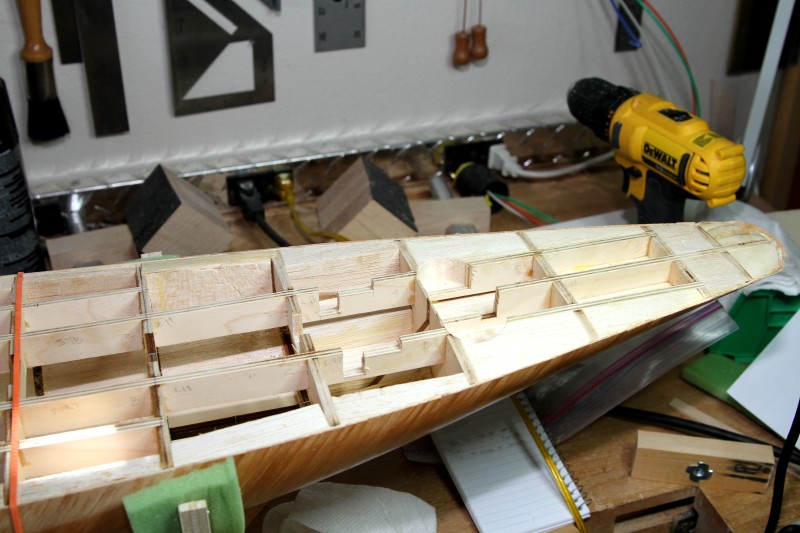

With not enough support for the cockpits' floors and seats, time to fill in with some balsa.

The balsa is glued in place and routed out.
Now we have solid floor, seats and side walls.
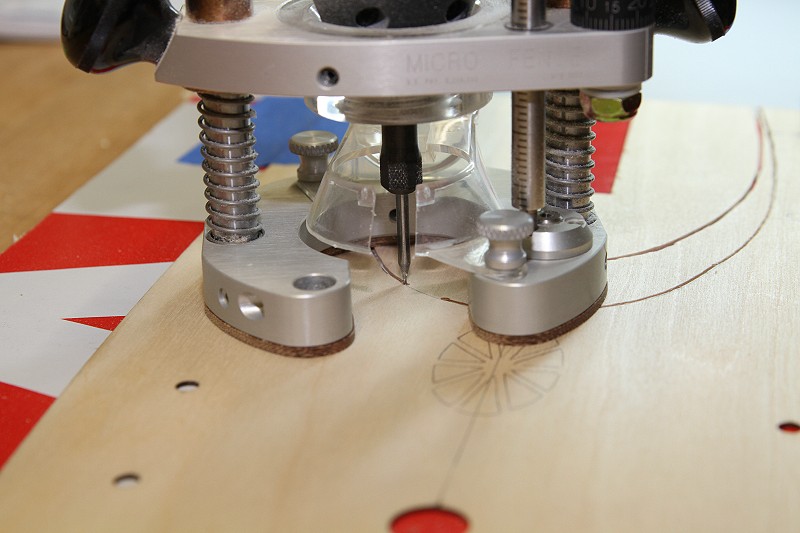
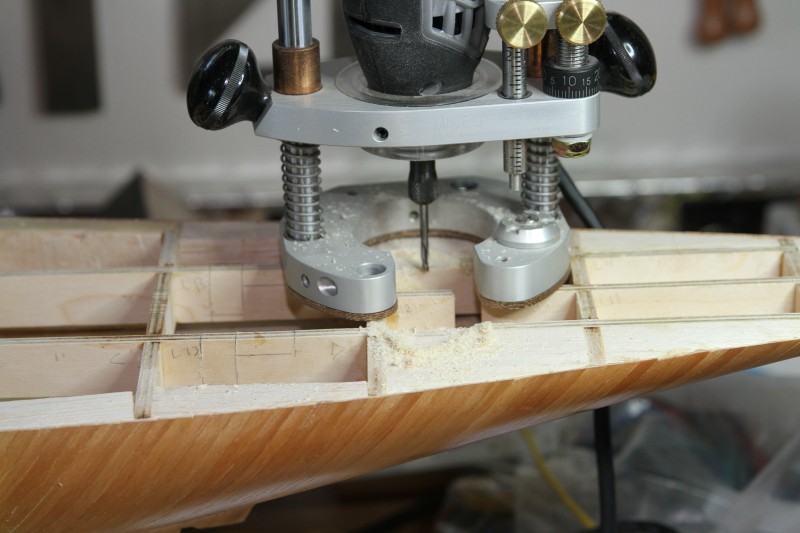
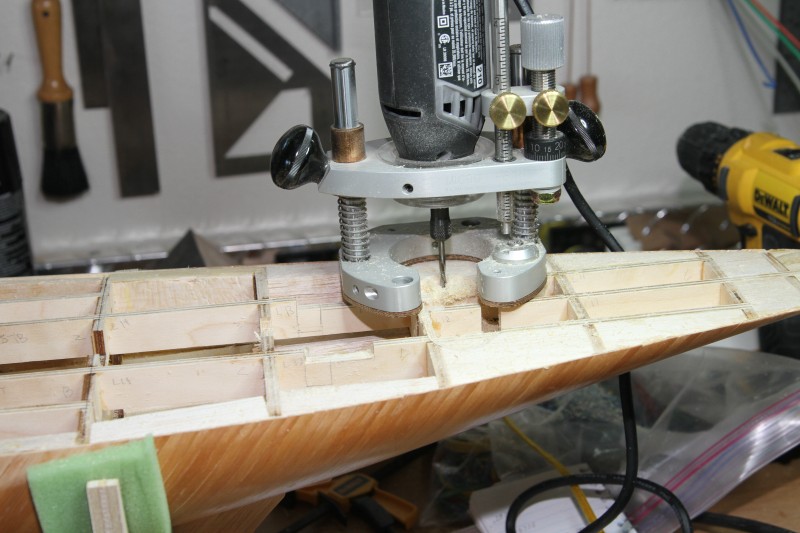
The router acts as a cutter as the raised cabin area is created. The router bit is 1/32" diameter.
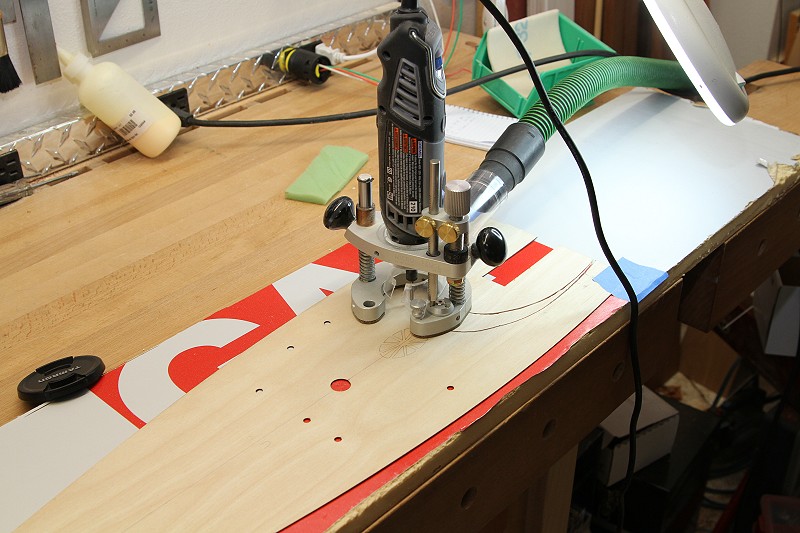
The vacuum makes for dust free routing.